Editing your template
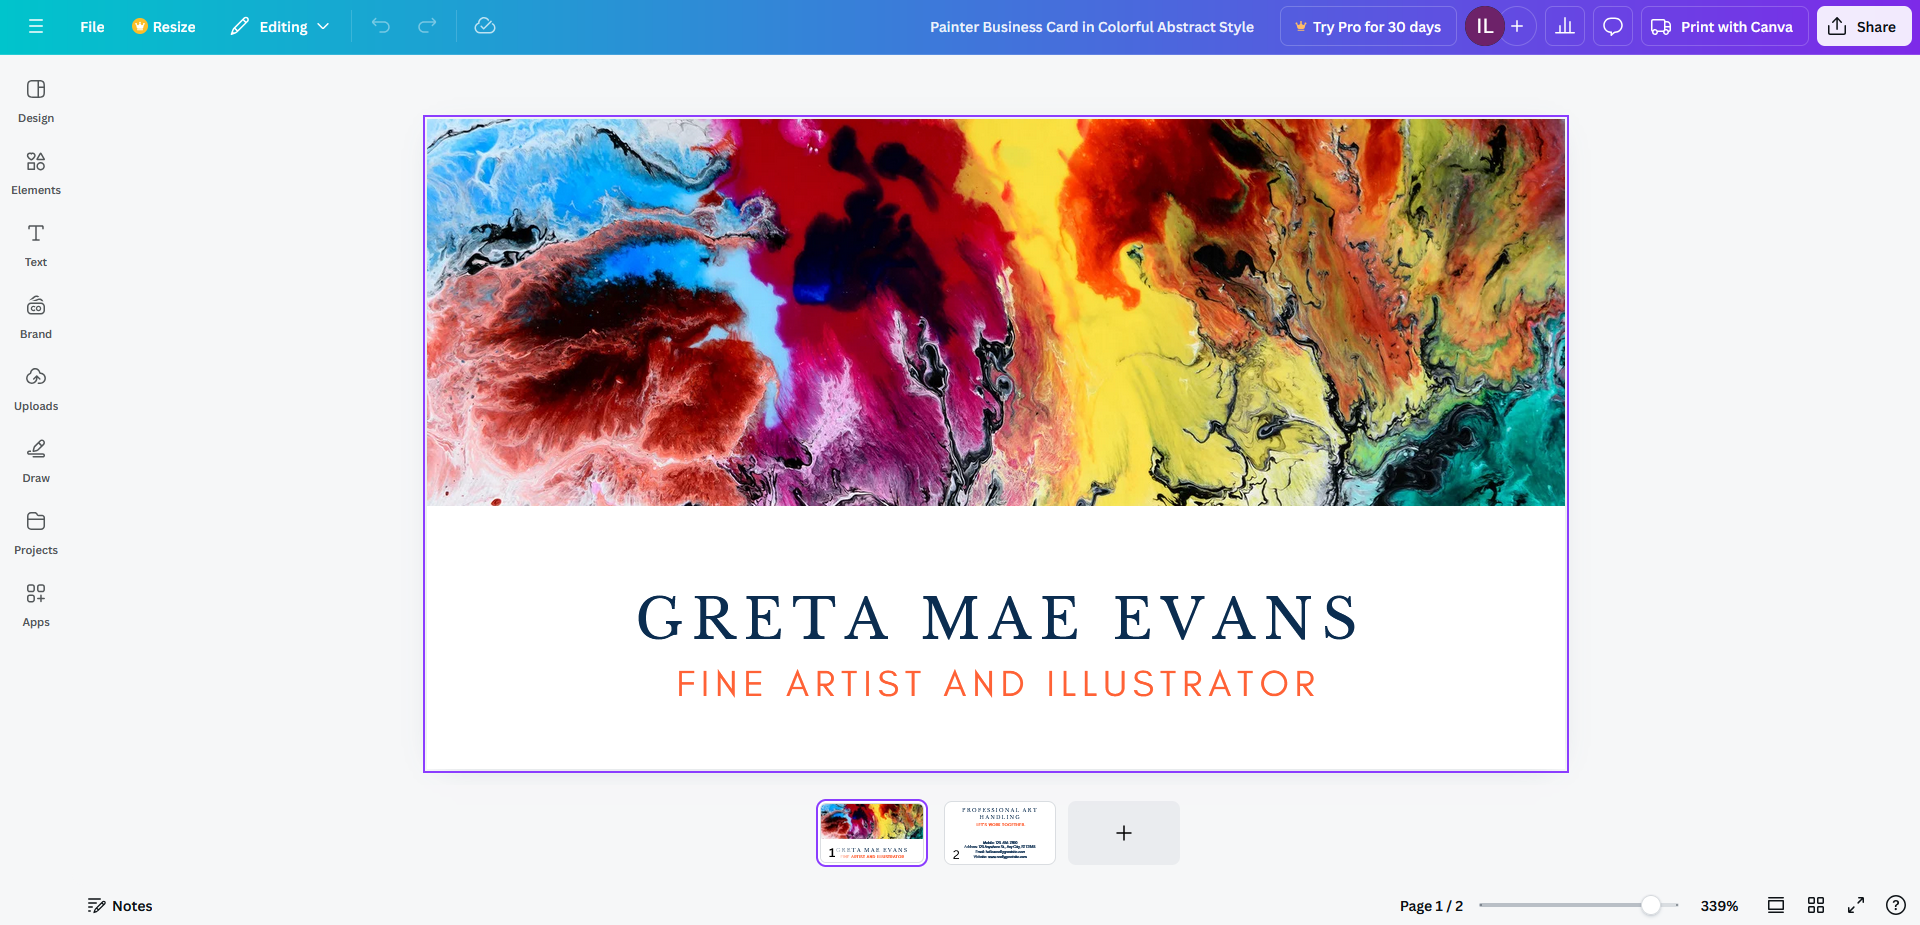
Once you have chosen your template you will be taken to the editing screen.

In the editor, you can click and select designs of your template to customize them. You can re-write text, move pictures, or delete items. On the left hand menu, you will also find additional options to customize your templates.
Editing text

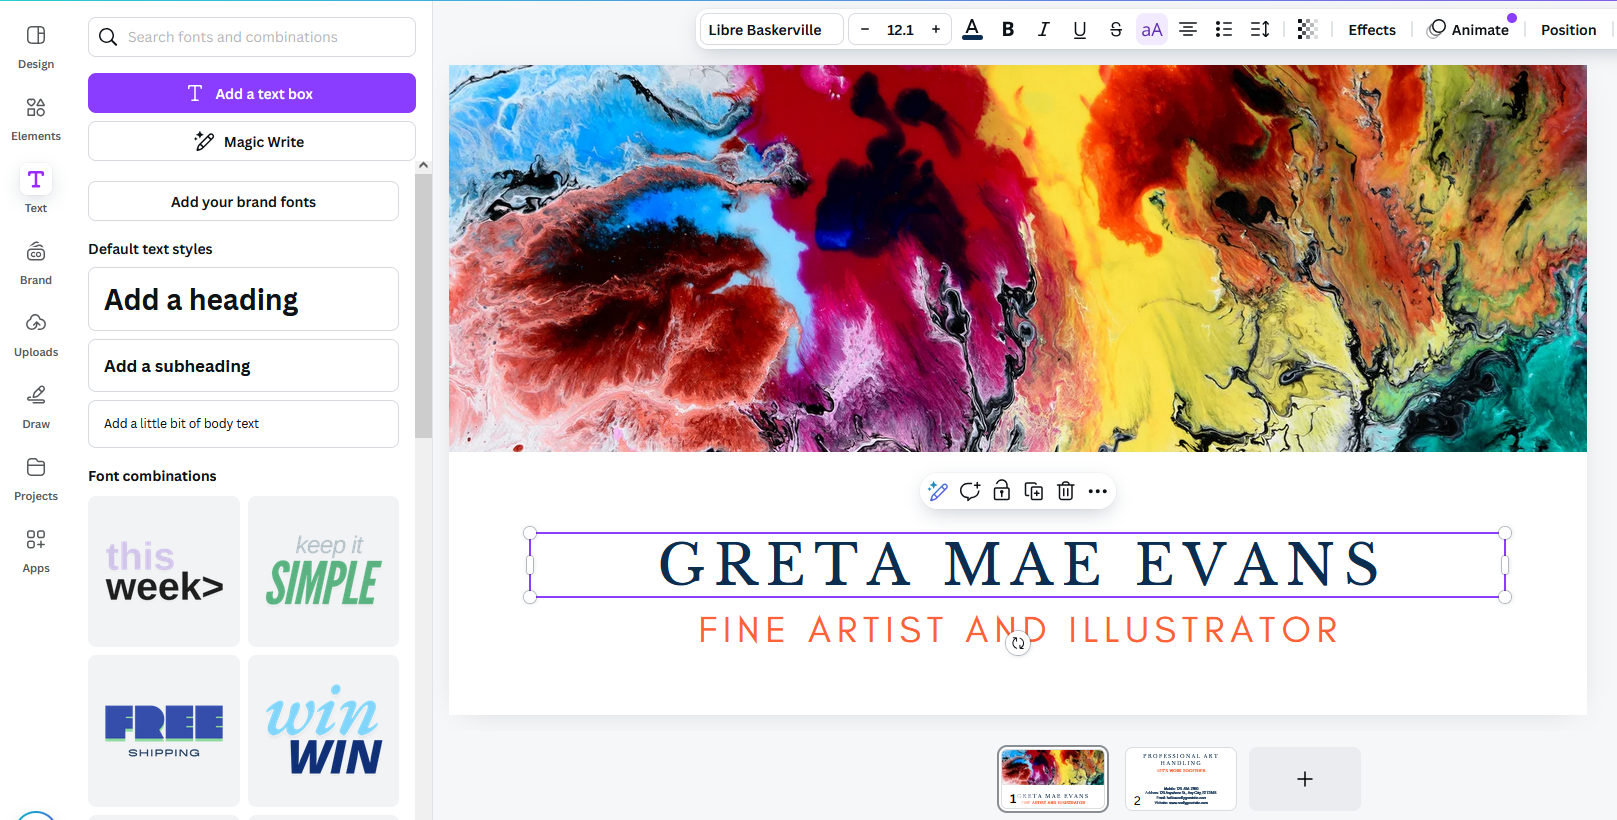
To start editing text, you can either click on an existing text box or add one in.
If you have an existing text box, you can erase the old text and type new text in. You can also adjust the side of the text box using the white options on the sides of the box. A menu will also appear that will allow you to change the font of the text, the size of the text, and add effects.
To create a new text box, click the “T” icon on the left menu and click “add a text box.” Your text box will then appear in an empty space on your design.
You can also ask Canva to generate AI text in your design by clicking “Magic Write.”
Adding elements
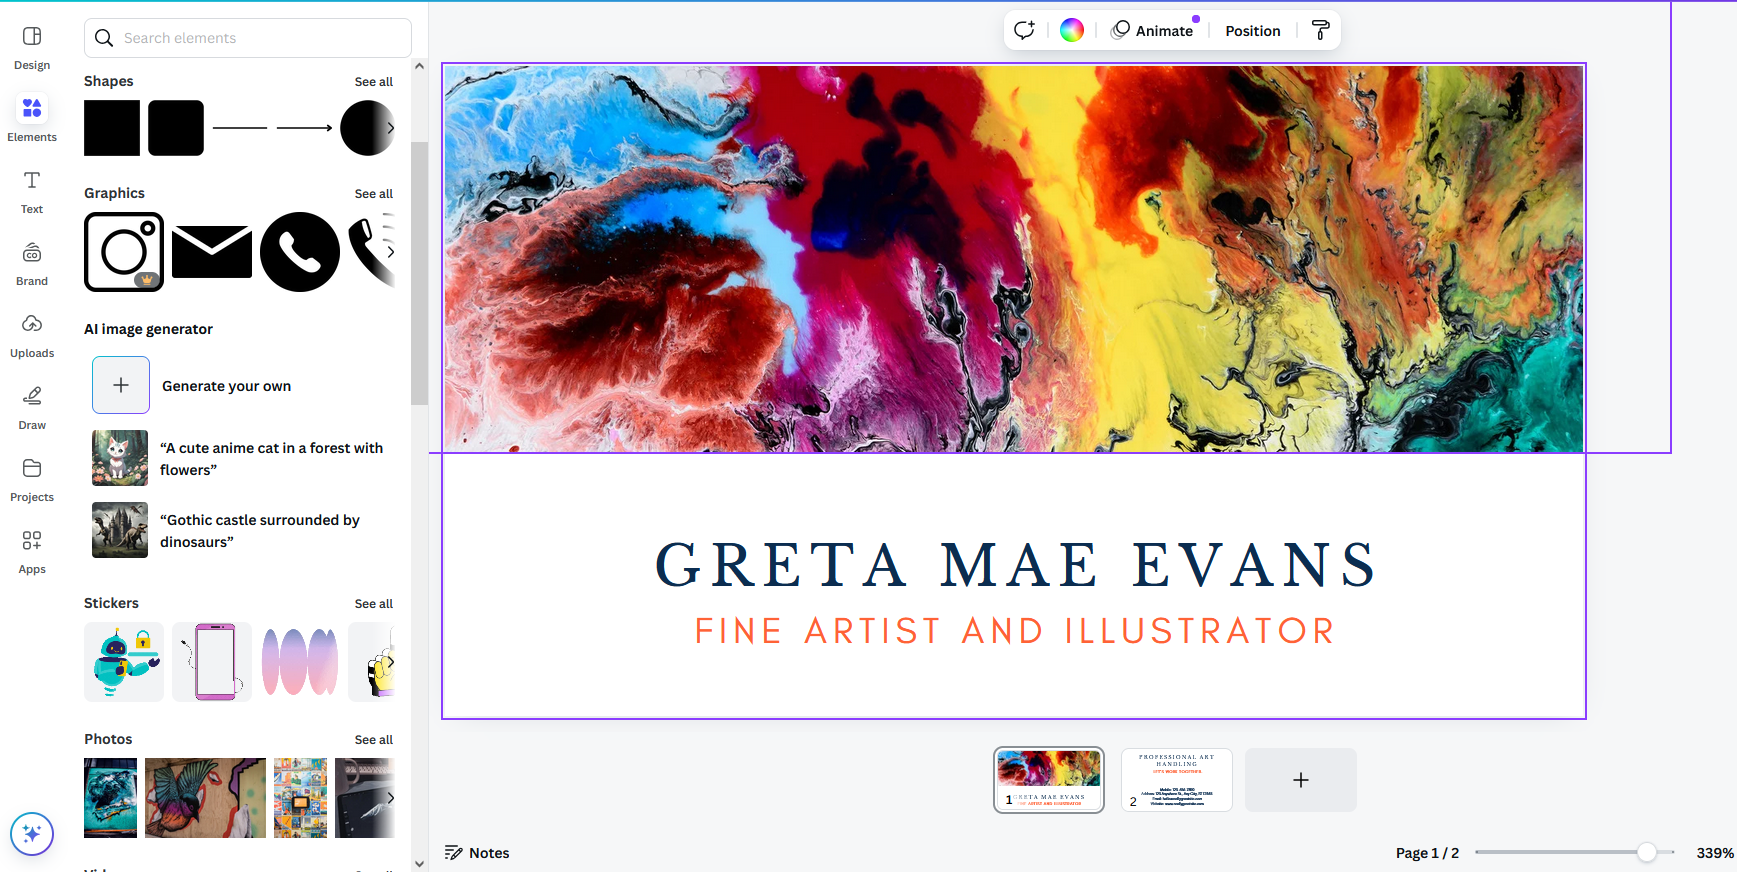
Canva has many elements to add to an already existing design. To browse the elements, click the “Elements” option on the left menu. You can choose to add shapes, graphics, stickers, photos, videos, audio, charts, tables, photo frames, photo grids, mockups, 3d graphics, or AI-generated images. Canva also has graphics collections that have a similar theme or idea.

To add an element, click and drag it from the elements menu out to your project. You will then be able to edit its placement, size, and other elements such as colour depending on the element you have chosen.
Some elements are only available for Canva Pro users ($150 CAD per year). Those specific elements are indicated by a crown symbol in the bottom corner.
Uploading your own photos
Canva allows you to upload your own photos and images to use in your projects. To do this, click on the “Uploads” option on the left menu. You can either drag files from your computer to this section, or click the purple “upload files” button and manually find the file. Canva also allows you to link other accounts, such as Google Drive or Instagram, so that you can use the files you have saved there. The files will appear in this “uploads” tab for any project you need. To use them in your project, click and drag it from the Uploads section to your project.
Canva automatically saves your work. You can close the browser and come back to your project later. You can find all your projects on the main page’s “Projects” tab.
This will be sorted by most recent designs. You can also organize your projects by putting them into folders.

