Editing your Project

Editing in InDesign
One key difference between InDesign and most word processing or text editing software is that rather than typing straight into your document or adding images as you go along, you create boxes for where you want your text, images, and other elements to be. These boxes can then be resized and moved on your layout, allowing for much more flexibility than word processing software is capable of.
Working with Text & Graphics
Importing and Placing your Text
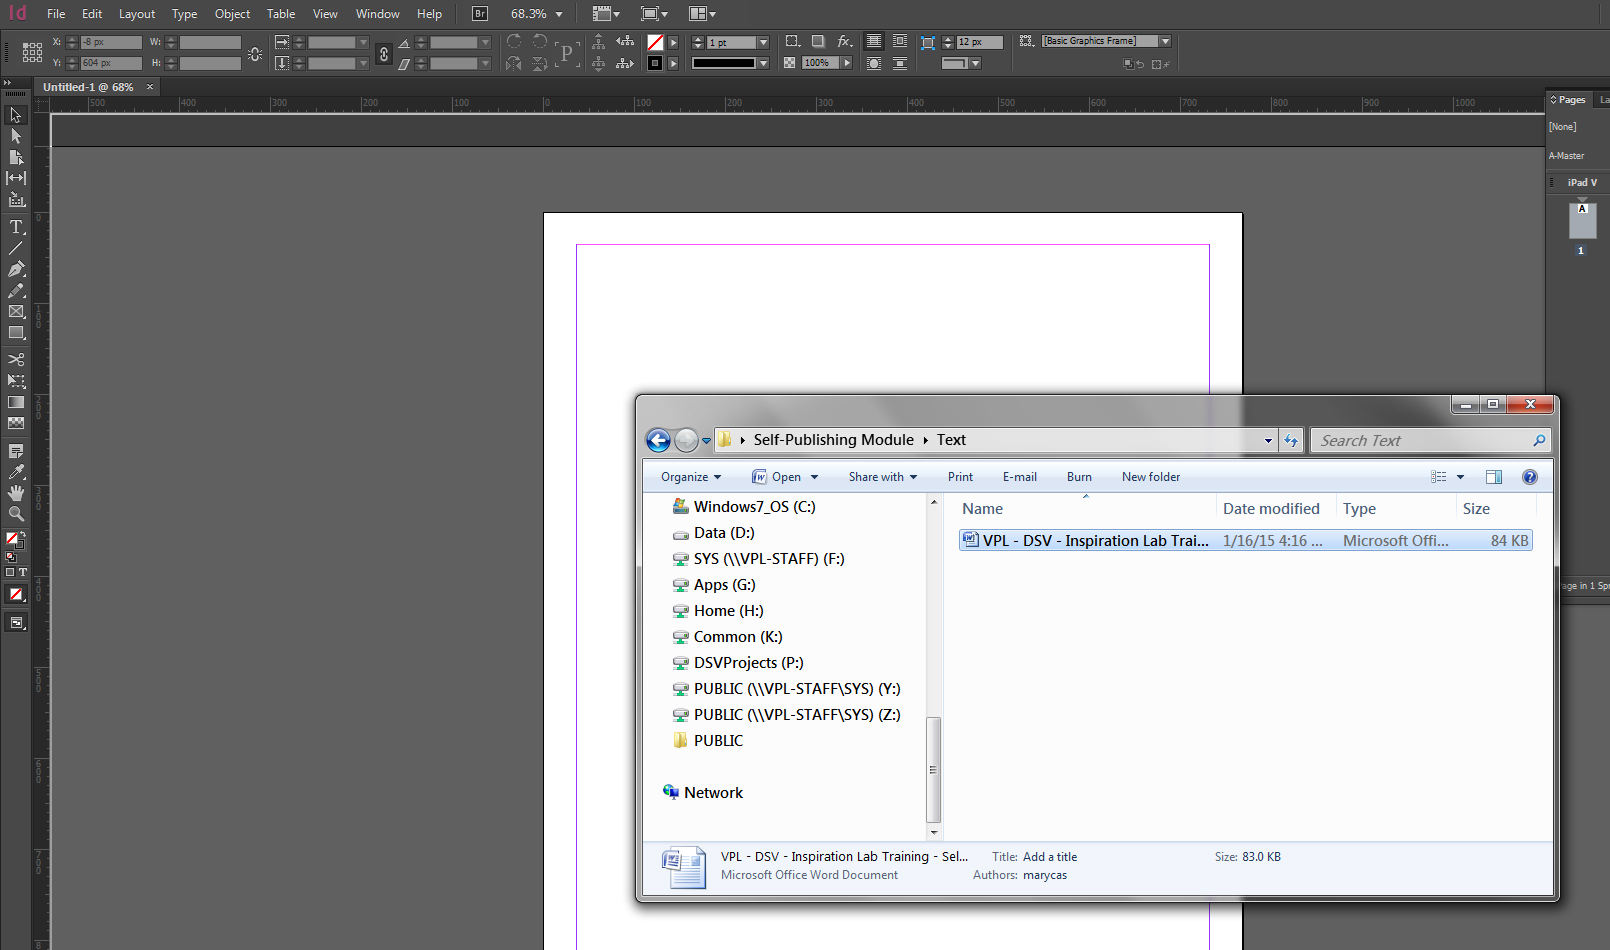
1. You can drag and drop the word processor document file containing your manuscript directly from Windows Explorer into the InDesign Pasteboard. Once the Pasteboard is highlighted (light grey outline), release your mouse to drop the file.
Note: There are several different options for pasting text into InDesign. Another common option is to create a text area box within your document and paste your manuscript (or pieces of it) within the box.
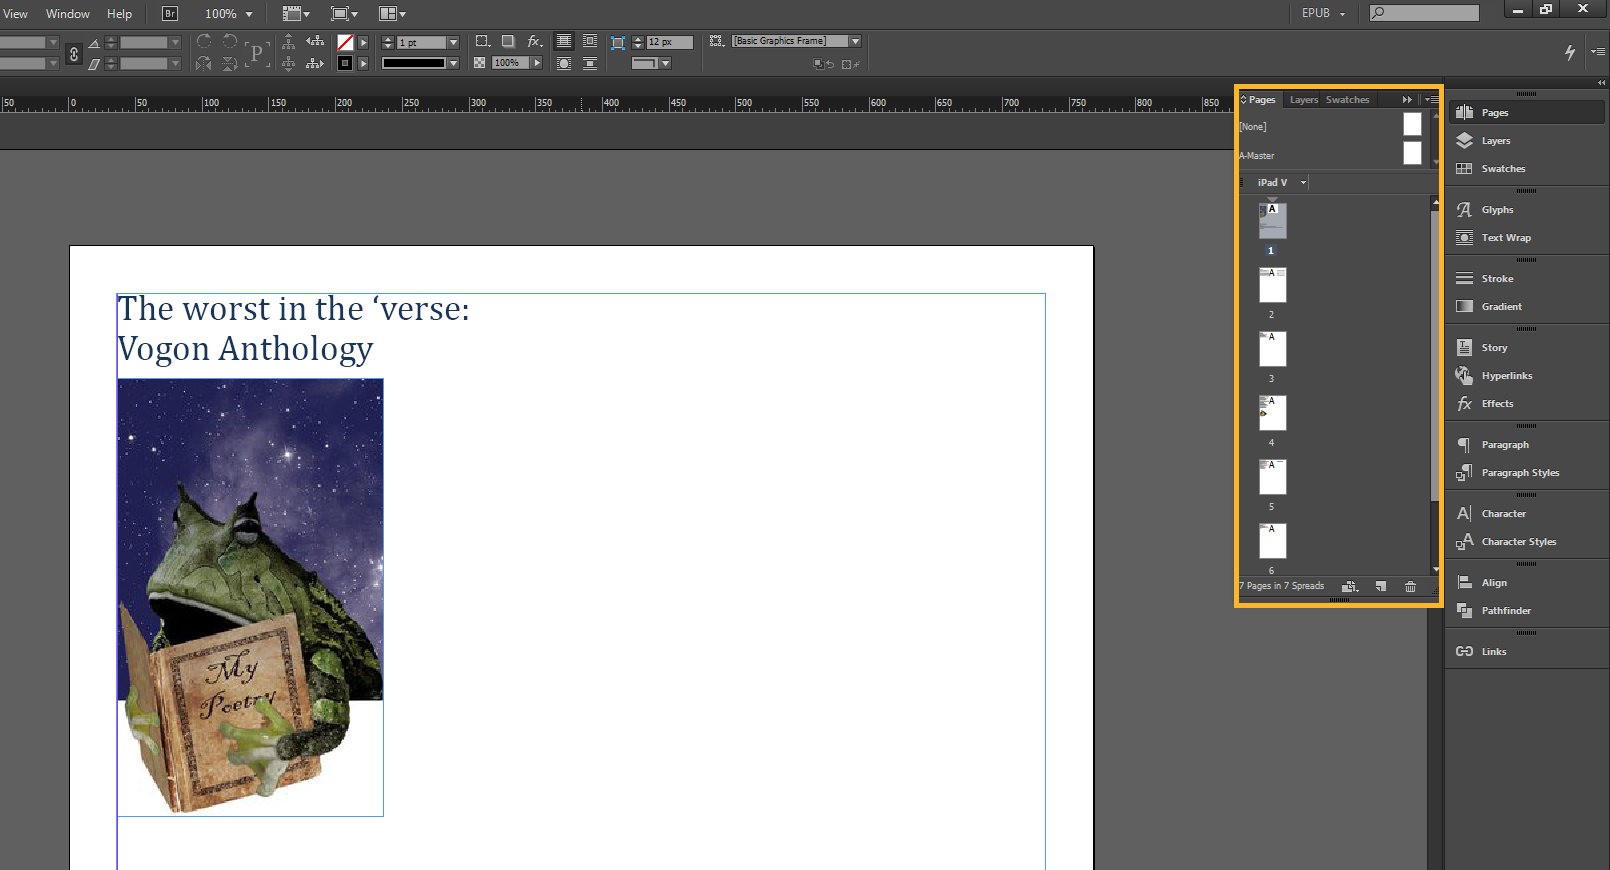
2. You'll notice in the Pages Panel that new pages are automatically generated by InDesign. The formatting styles created in the word processor along with any embedded images are also included. While you can use these embedded images as they are, it is good practice to import them correctly into InDesign as linked files. Scroll down to find out how to do this, check Re-linking Embedded Graphics.
Working with Graphics
Adding Graphics
Graphics need to be placed or imported into a placeholder such as a rectangle frame. Follow the next steps for adding graphics to your document:
- Using the Rectangle Frame tool (or a different shape), click and drag from the top left corner to draw a rectangle into your document. You should see a blue rectangle with an X on your screen.
- With the frame selected now, you can place a graphic in it. Go to File > Place or use the keyboard shortcut CTRL + D. The Place command is used to import graphic and text files. Select the individual graphic you want to import and click Open.
Note that if the graphic is larger than the frame you drew, part of the graphic will be hidden, and if the graphic is smaller it will not fill the frame. - InDesign can also create a frame for a graphic. Make sure to deselect all objects and then go to File > Place. Select the graphic and click Open. You should see the cursor will have the graphic to place, move the cursor and click and drag from the top left corner to create a frame. The frame is drawn in the same proportion as the image. Then release the mouse to place the graphic.
- If a frame is selected, the graphic will be placed by default to the size of the frame by just clicking on the frame.
Moving, Resizing and Fitting Graphics
- If you want to hide or crop your graphic, select the frame with the Selection tool. When the pointer shows a little black square next to it, click on one of the corner handles of the frame, and drag to resize it. This will only affect the size of the frame.
- By pressing Control + Shift while clicking and dragging a corner handle of the graphic frame, the frame and the graphic will resize together. The Shift key retains the proportions of the graphic.
- Once your graphic is placed in a frame, hover with the cursor over the doughnut shape in the center of the graphic. This is the Content Grabber of the graphic. The pointer should become a hand; if you click on it, you will select only the graphic within the frame. Once selected, you will see the brown color outline of the graphic within the frame. By doing this, you will affect the graphic within the frame.
- To fit the graphic within the frame, you may want to use either of the two fitting commands. Select the graphic frame and then go to Object > Fitting and choose one of the two fitting commands: Fill Frame Proportionally or Fit Content Proportionally.
Re-linking Embedded Graphics
When you placed your manuscript from a word processor into InDesign, any graphics from your word processor were also imported. However, they appear as "embedded" graphics. It is preferable to have your graphics properly "linked" back to your InDesign document.
Graphics and images (as well as audio and video files) are referrred to as "Links". These can be accessed through the Links panel on the right. There, you should see a list of your linked files, whether they are embedded or linked, and what page they appear on.
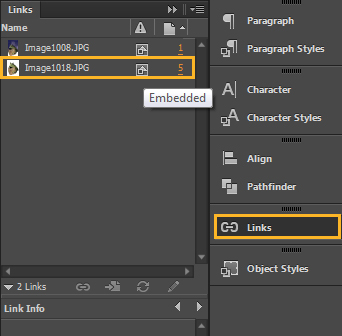
To re-link embedded graphics, right click the file name and select Re-link. Choose the corresponding graphic file from the folder it is in and select Open. The embedded graphic icon will disappear from the right of the file name after the file has been re-linked.
Using Columns and Guides
Using Columns and Guides
Columns and guides form the basis of a grid system that acts as a foundation for the structure of your page layout and design. Grid systems, although invisible to readers, are incredibly powerful tools for creating visually harmonious page layouts.
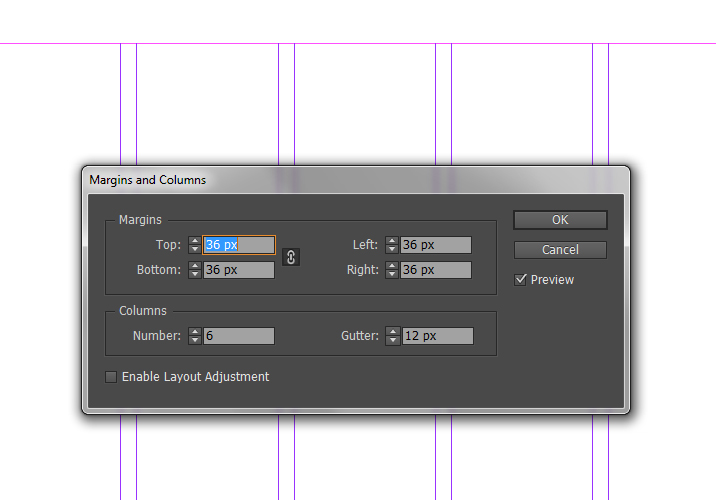
- To add margins and columns to your page, go to Layout > Margins and Columns to change the column settings for your document. Experiment with changing the Margin and Column settings.
Image
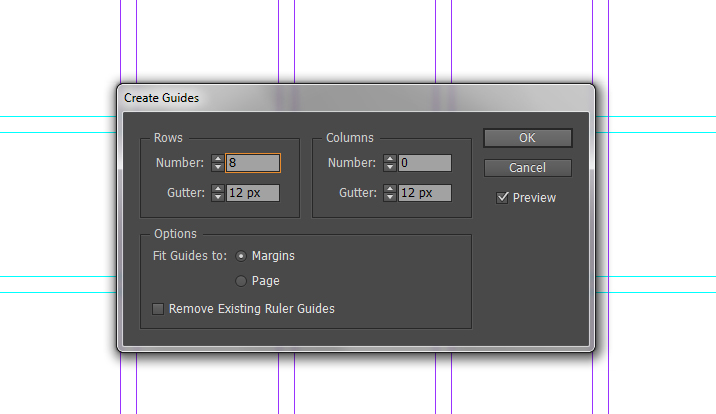
- You can also create grid lines that span across the page. Go to Layout > Guides to add new rows of guides. Change the settings to include the number of rows.
Image
Working with Styles
Using Paragraph, Character and Object Styles
Although you can stylize your document manually using the text formatting options found in the Control Panel, applying Styles to your text, images and shapes, make sure they all look consistent throughout your document and makes it efficient saving you time in the long run.
For example, if you decide to change the color of your chapter headings from red to blue, you can find the Paragraph Style for that heading, change the settings once, and all of the chapter headings throughout your book will change. This is similar to how CSS styling is applied to a webpage.
Note: Paragraph and Character Styles panels are available under the Advanced and Typography workspace modes, and Objects Styles under Advanced and Book modes.
Paragraph and Character Styles
What are Paragraph and Character Styles?
Paragraph Styles and Character Styles are two formatting windows in the Panels area that can be used for the bulk of your text formatting. Paragraph Styles are applied to full paragraphs (i.e. headings, body text, foot notes, etc.), while Character styles can be applied to words or sentences within a paragraph (i.e. bold, italic, etc.)
- To select an area of your text, go to the Tool Box on the left and select the Type tool. This activates areas on the document containing text elements. Highlight a few lines of body text.
Image

- Click on the Paragraph Style or Character Style panel on the right.
Note: Although it takes practice to get used to moving all over the screen when formatting a page, it is common to be moving your cursor all over the screen toggling between Tools, the formatting Panels and the top Menus. One good thing about Adobe software is that the user interface is consistent across its many applications, so once you gain some familiarity with using one, you can easily find your way around another Adobe software (even when the software gets an upgrade).
The active Paragraph Style will be highlighted on the panel with a different shade. Double click on the active style to see the Options dialog box where you can change the formatting. Explore these tabs to see the different levels of formatting that can be applied to your text.
Image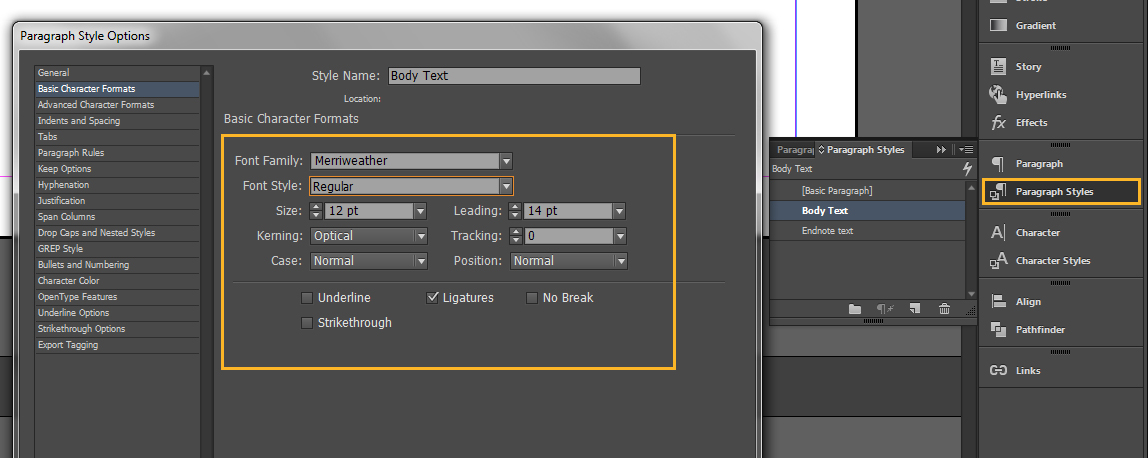
Overwriting Imported Styles
- When you import your manuscript from a word processor, all of the formatting is maintained, unless you have pasted from a Plain Text file. In the Paragraph Styles panel, you'll see these styles appear with an icon on the right of the style name that lets you know this style was not created in InDesign.
Image
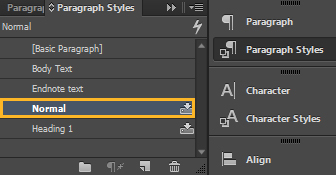
- You can overwrite the style by opening it and changing the formatting in the Options dialog box. Another way is to create a new style and overwrite the existing one by deleting and replacing it. Select and drag the word processor style you want to replace to the Trash icon on the bottom right.
Image

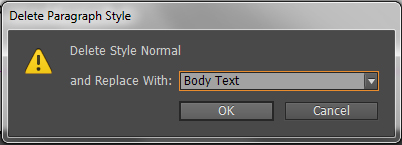
- Select the new style from the drop down menu and click OK.
Image
Note: These same techniques can be used for formatting Character Styles as well as Object Styles.
