Basic Photo Edits
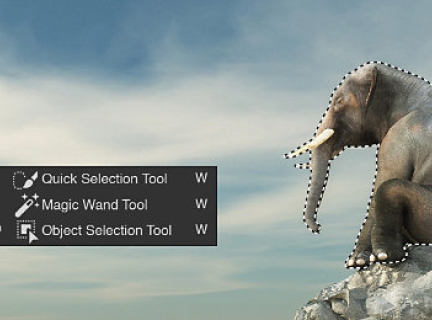
Adobe Photoshop CC software offers many ways to edit photos. Some options are basic and can easily be accomplished by a beginner user, while more advanced methods are used by professionals to fine tune images, colours and imperfections.
Cropping Photos
Crop images after edits to ensure the image being edited is the full resolution version. Save an image copy with all the edits at full resolution to edit later if needed. Different print sizes have different aspect ratios so cropping can be essential when wanting a specific print size to control which parts are cropped.
To crop an image, select the Crop Tool from the tool bar:
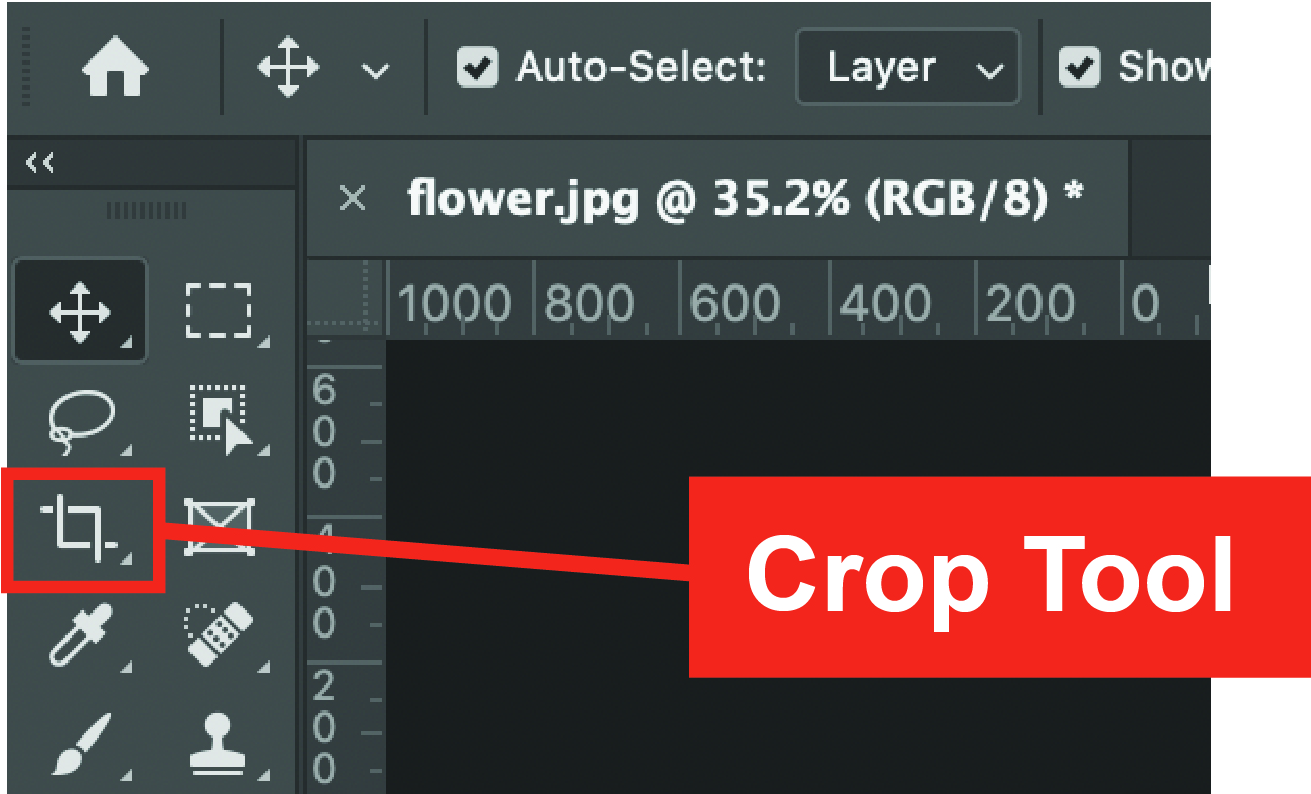
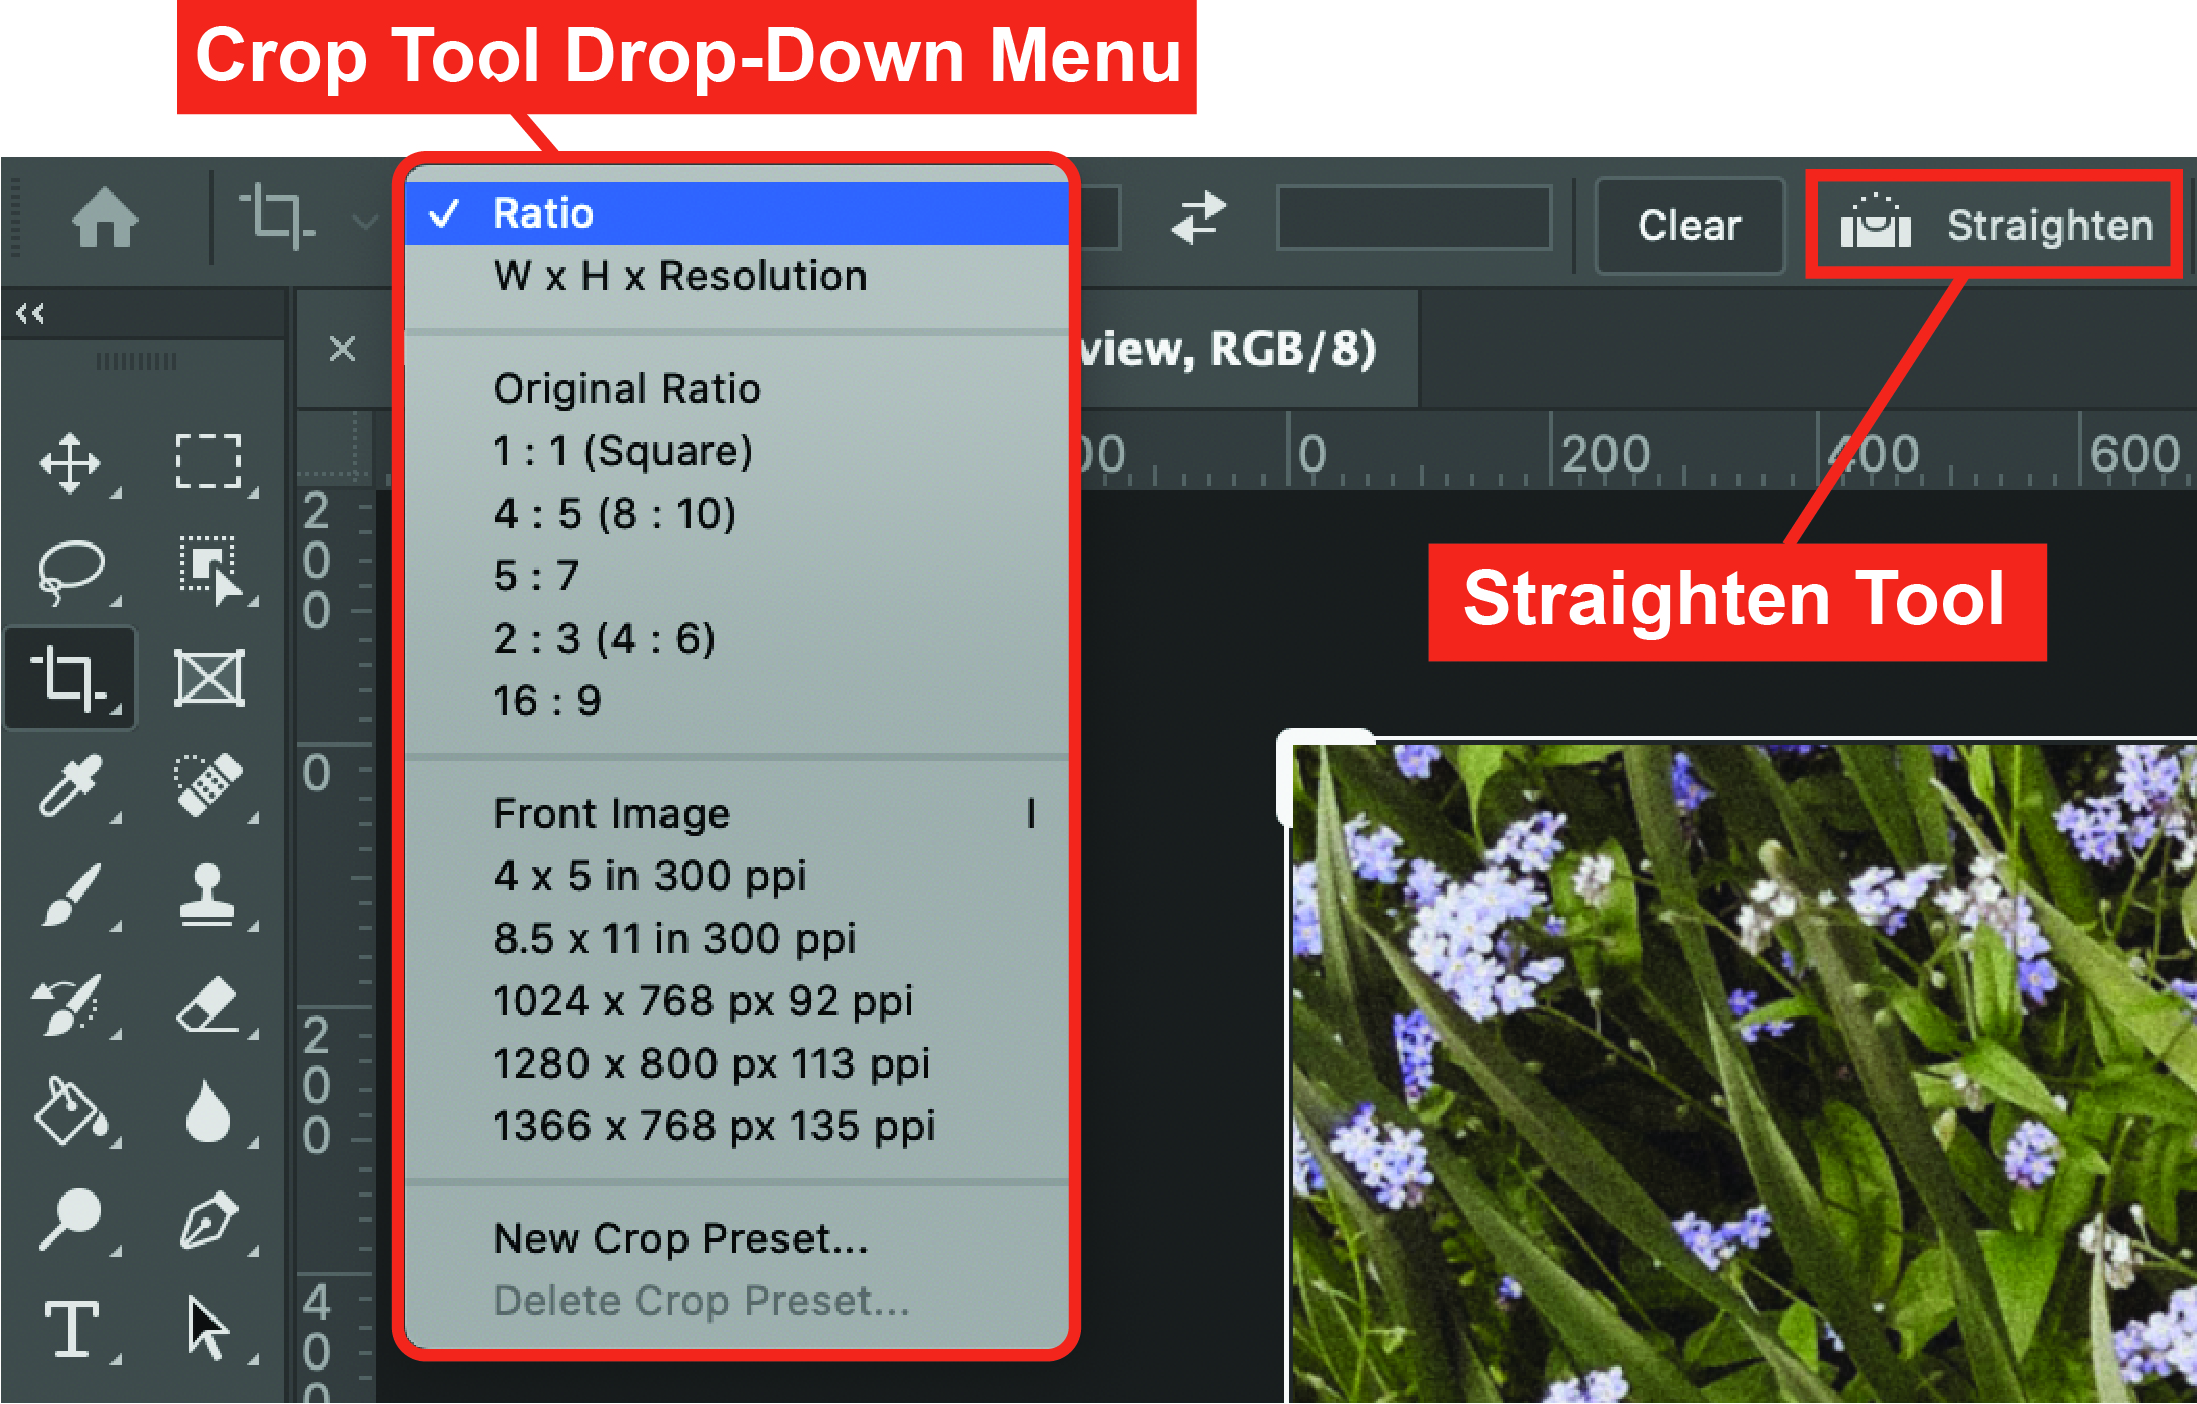
Choose pre-selected aspect ratios from the drop-down menu or click and drag the corners of the image to crop. Use the straighten tool to straighten out the horizon of your image.
Resizing Photos
Ensure all retouching and colour edits are complete before resizing the image. It is easier to edit an image with more detail than less.
Reduce image size by selecting Image > Image Size. A box will then pop up which looks like this:
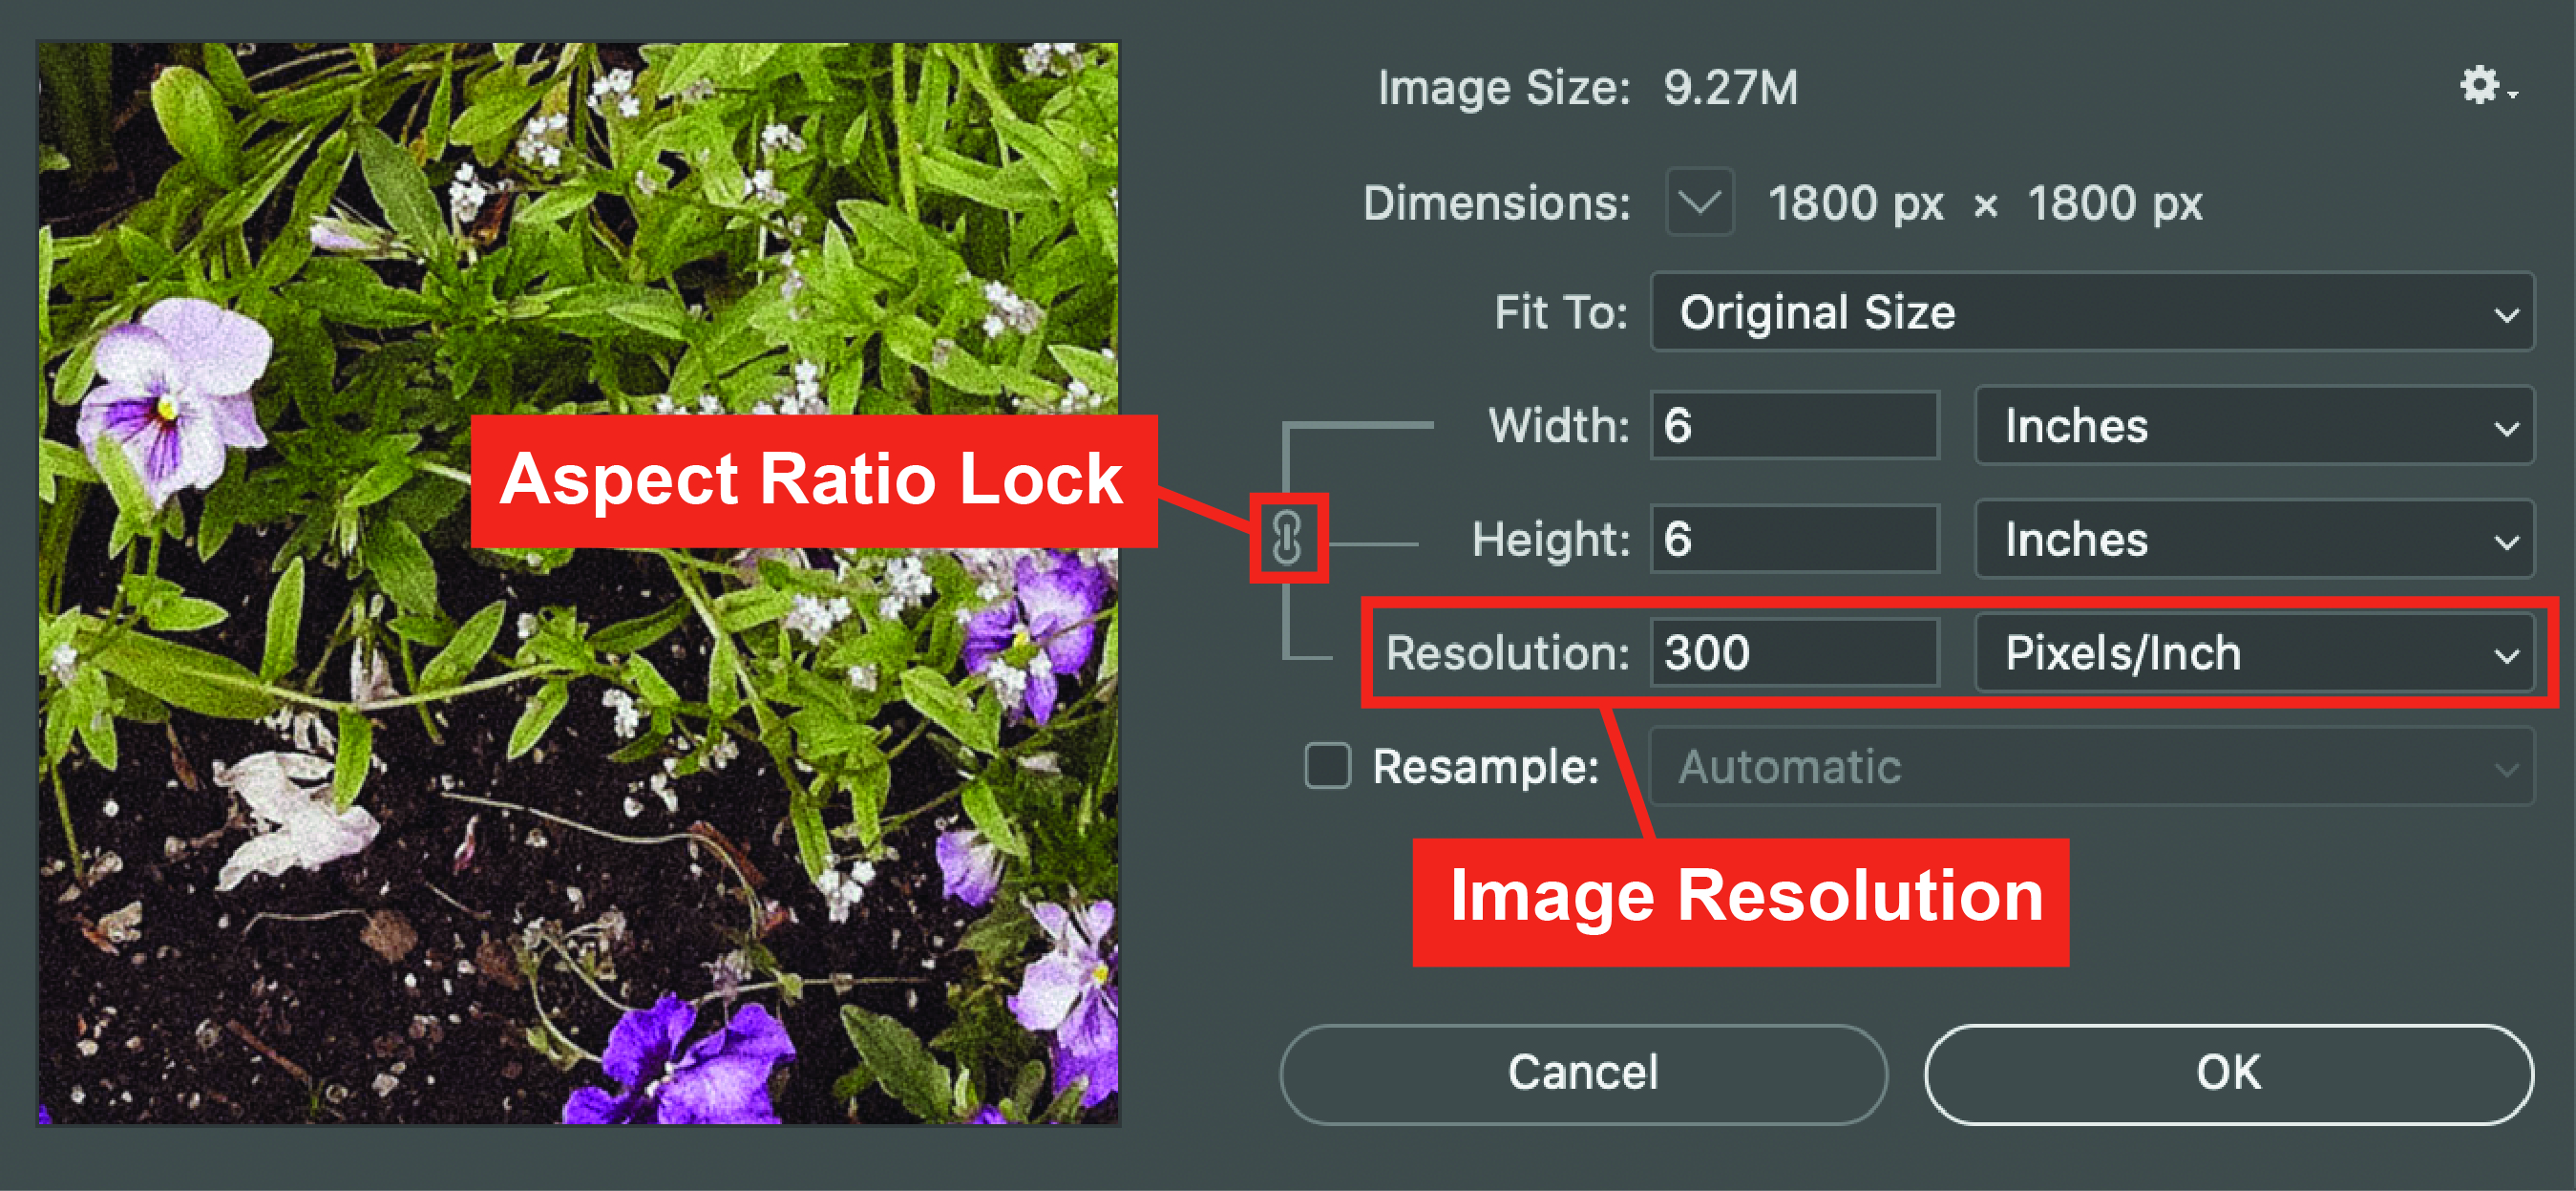
Type in desired image width and height.
Maintain the aspect ratio by ensuring the image Height and Width are Locked together.
Usable Image Resolution: 72 pixels/inch = standard screen resolution, 200-300 pixels/inch = standard print resolution
The DPI setting supplied with images can vary, but it is easily changed by opening Image Size from the Image Menu, uncheck “Resample” and type the DPI setting in “Resolution”. The image width and height will change automatically as you change the Resolution
Correcting Light and Colour
Brightness and Contrast:
You can adjust the brightness and contrast of an image to suit your desired effect. From then top menu choose Image > Adjustments > Brightness/Contrast...
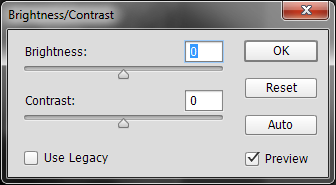
Move the arrows from the zero position to the left or right to see the adjustments. For brightness, the left will make it darker, and the right will make it lighter. You can also click “auto” for Photoshop to automatically make adjustments.
Levels:
Under the Image menu, mouse over Adjustments and select Levels.
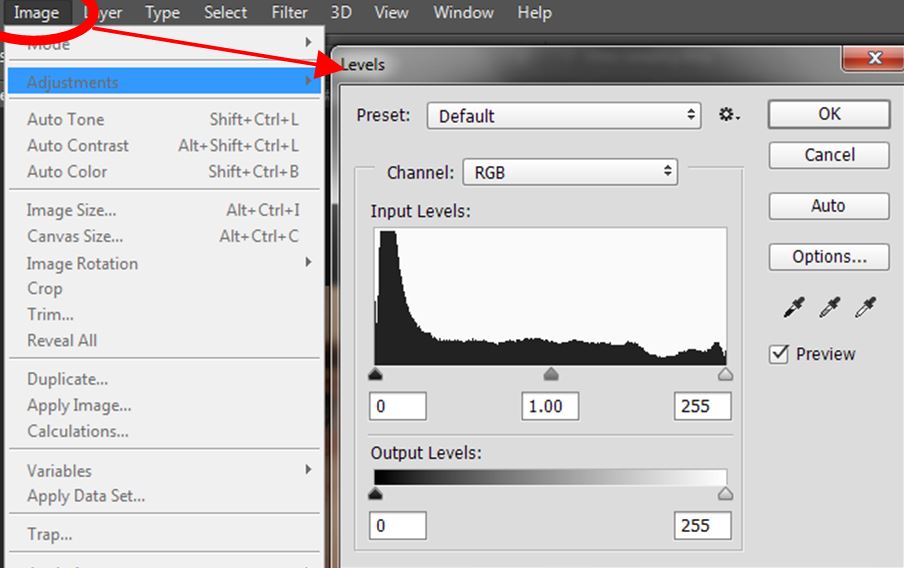
The graph represents the darkest, lightest and mid tones of the image. Use the sliding arrows to obtain the tonal balance that you would like in the image.
Tip: A good conventional image would have dark black tones, bright white tones, and a range of mid-tones in between.
Correcting or Altering Colour
There are several ways to change colours in a file in Photoshop.
Image Menu
Image Menu > Adjustments > Color Balance
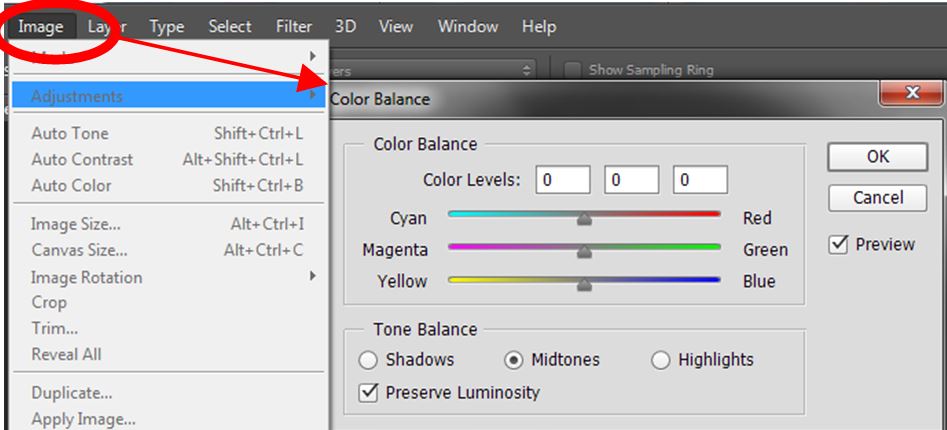
Move sliders until the photo looks more pleasing. Adjust shadows (dark areas) or highlights (light areas) with a colour cast by selecting the radio button to adjust that area of the photo. View the before and after effects by toggling the Preview button ON/OFF.
Hue/Saturation
Image Menu > Adjustments > Hue/Saturation
Adjust the tones all at once or individually by moving the sliders to the left or right.
Change Image to Black & White
Open Adjustment window Window menu > Adjustments
Select the ½ black and ½ white square icon, labelled Black and White. Adjust the colour sliders under the red, yellow, green controls. Notice how the colours convert to shades of monochrome. Change the contrast and shades of grey by choosing filters from this drop down menu.
Retouching Photos
Basic retouching of an image can cover many aspects, such as:
- Removing dust from a scanned print
- Removing “red-eye” from a portrait photo
- Removing unwanted objects from a picture
Remove Dust or Scratches:
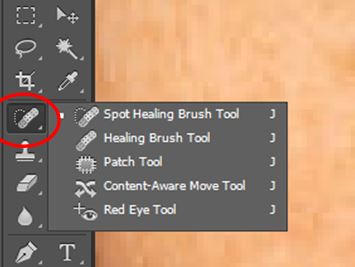
Open the image and select Spot Healing Brush from the toolbar. Zoom in close to the part of the image to be fixed and click with a small brush size over the spot you want to remove.
Another tool for retouching is the Clone Stamp Tool. To use this tool, hold down the Alt key and click on the area to be copied, then apply to the area to be covered. The Clone Stamp Tool gives a similar effect to the Healing Brush Tool. Experiment with both as a combination of both is required for some retouching issues. Remember! Work slowly to create a smooth transition during retouching. It should look smooth and natural on the image.
Removing Red-eye:
Click the Zoom tool in the toolbox to zoom in tight on the subject's eyes.
Select the Red Eye tool from the toolbar. You'll find it nested with the Spot Healing, Healing, and Patch tools.
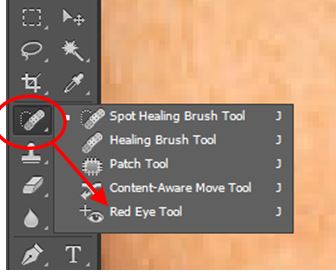
With the Red Eye tool active, click in the red area of one eye. If the correction doesn't match the size of the pupils or seems too light or too dark, undo the effect and change the Pupil Size or the Darken Amount setting on the Options bar and then reapply.
The final result should look natural, not drawing attention to itself in any way.
Removing Objects/Things from a Photo:
To remove distracting objects in the background of an image cover or “paint” over it with a texture or other area, choose the Healing Brush tool from the toolbar.
Change the option Mode to Replace at the top:
Left click the cursor + ALT key once beside the spot/texture to copy. Click the mouse (repeatedly if needed) on top of the spot to be removed. Keep clicking and painting over the spot until it is removed seamlessly. Use the History Panel to undo any mistakes.

