Audio Effects in REAPER
Audio effects manipulate how an audio signal sounds, either for creative or functional purposes.
How to Add an Effect
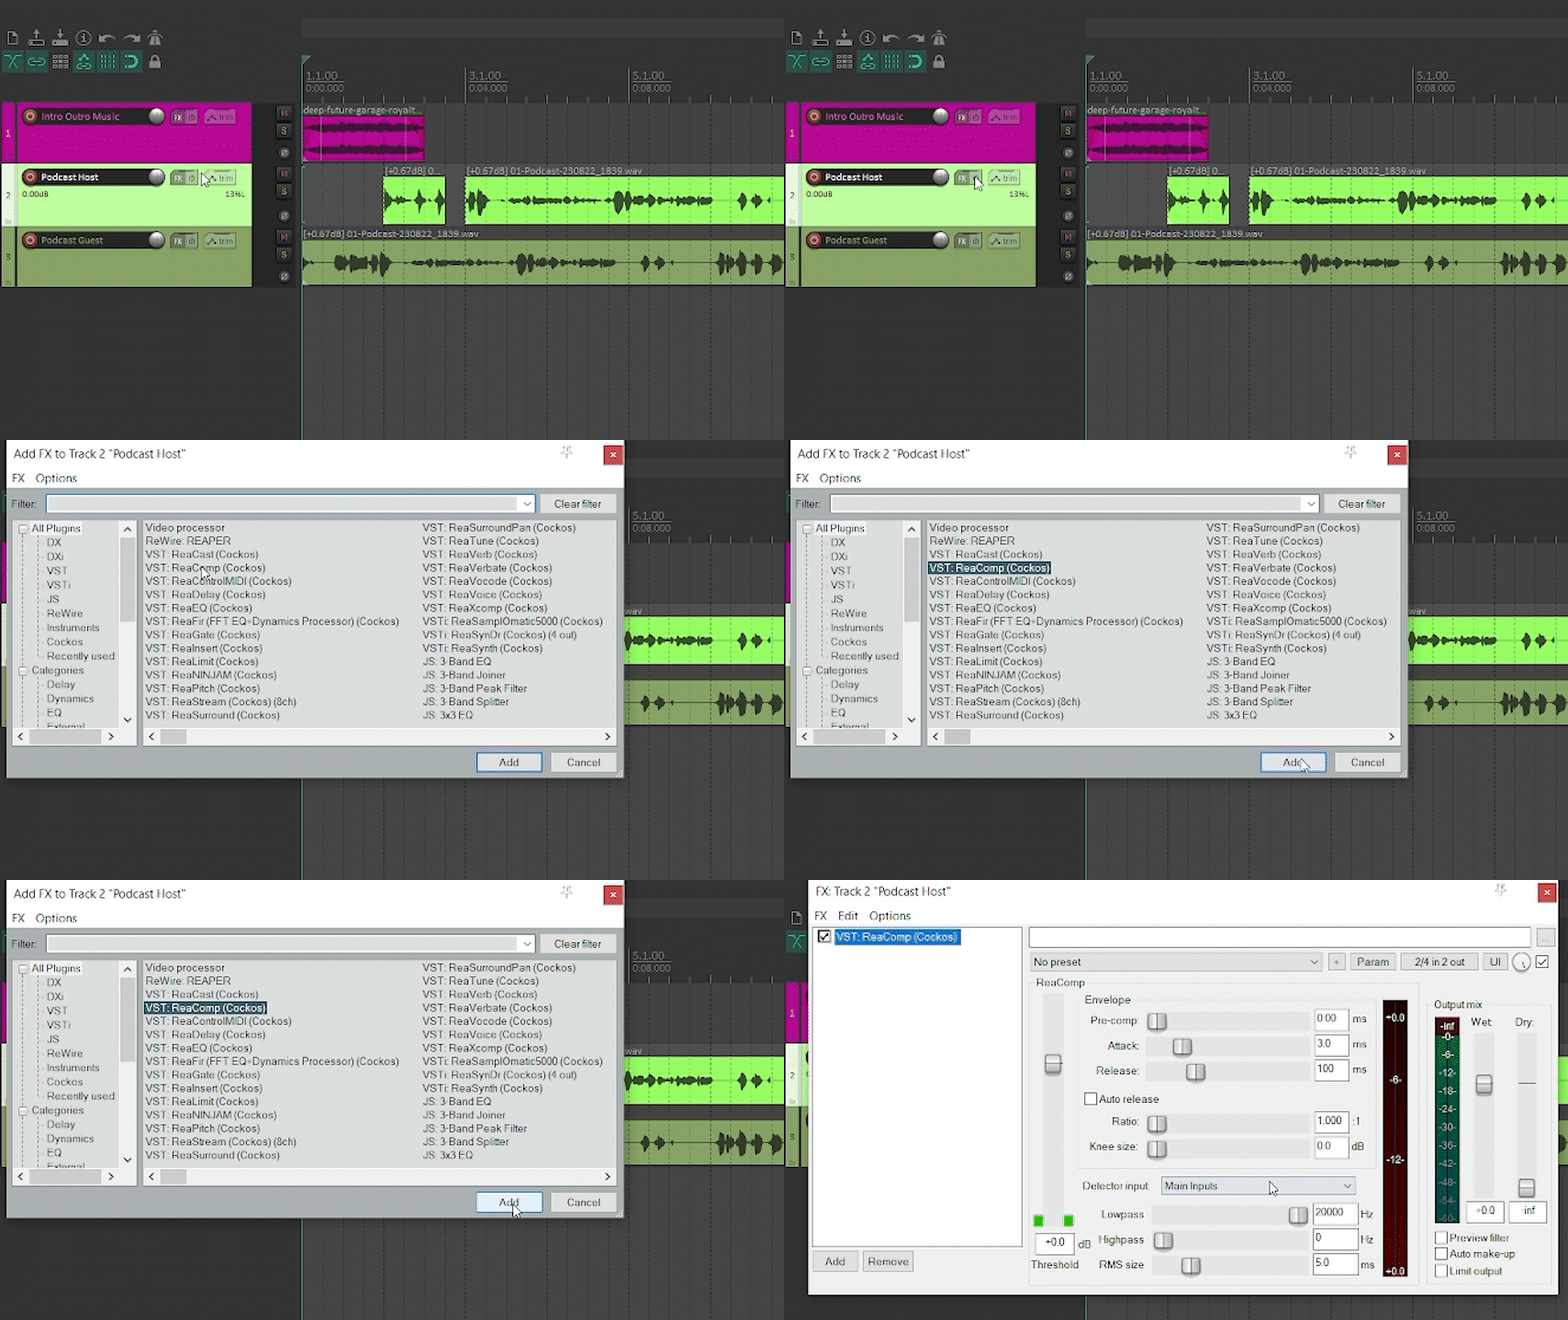
To add an audio effect, click the FX power button for the the particular track you would like to add effects to. You can then select from a list of many audio effects to apply. Once you select one that you want, click OK. Then the effect window will open.
Adjust Effect Parameters
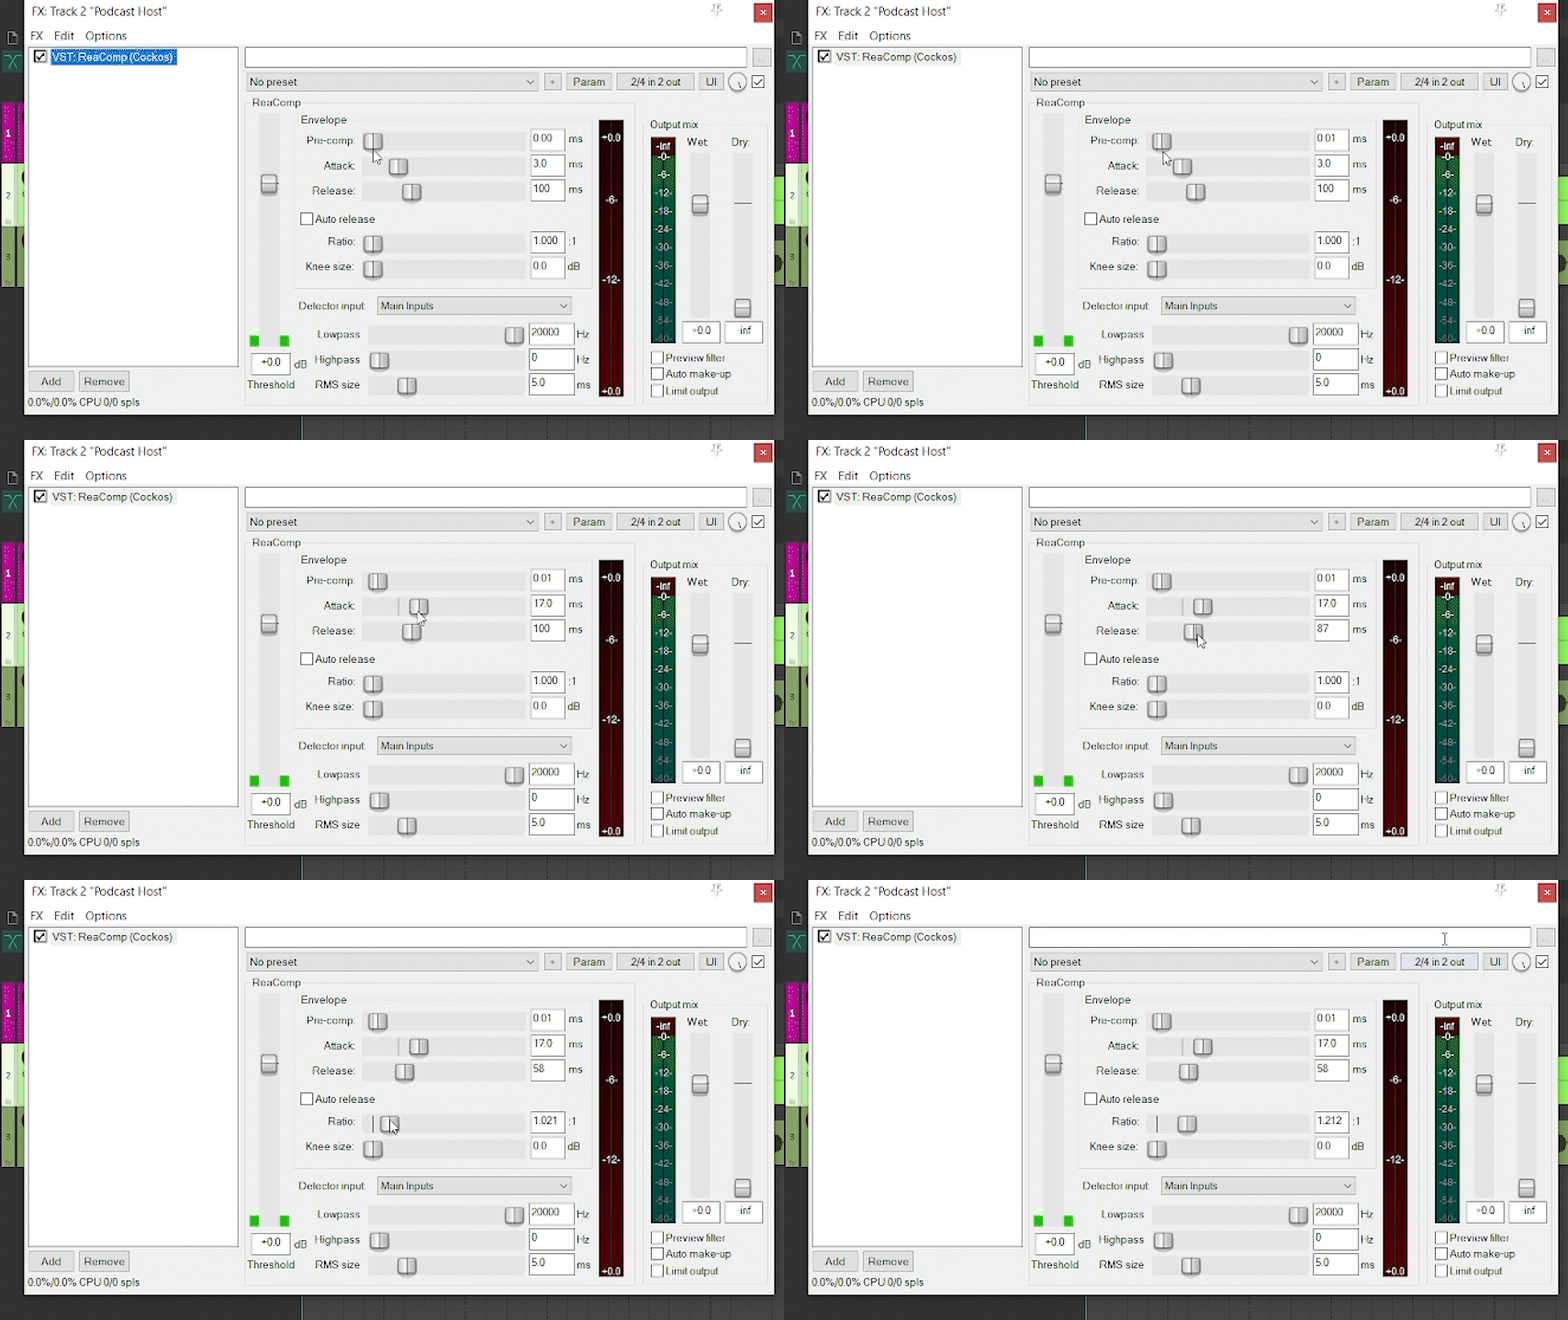
You can adjust any parameters as desired to make the audio effect work to your liking. See different effects below for more information.
Use Effect Presets
Audio Effects typically come with some professionally-created presets which sound good right out of the box. You can select one of these and leave it as is or adjust it to your specific source material and taste.
Reverb
Reverb is an audio effect that can be described as the sound of the space. If you have ever yelled or clap your hands in a large room, you have heard reverb. Most recordings are made in a studio, where there is little to no reverb. But you can add it with audio effects to make a vocal, instrument or sound effect sound more full.
Reaper has two reverb plugins. ReaVerb and ReaVerbate.
The one we will examine is ReaVerb. You can add ReaVerb to your track just like the previous tab covered.
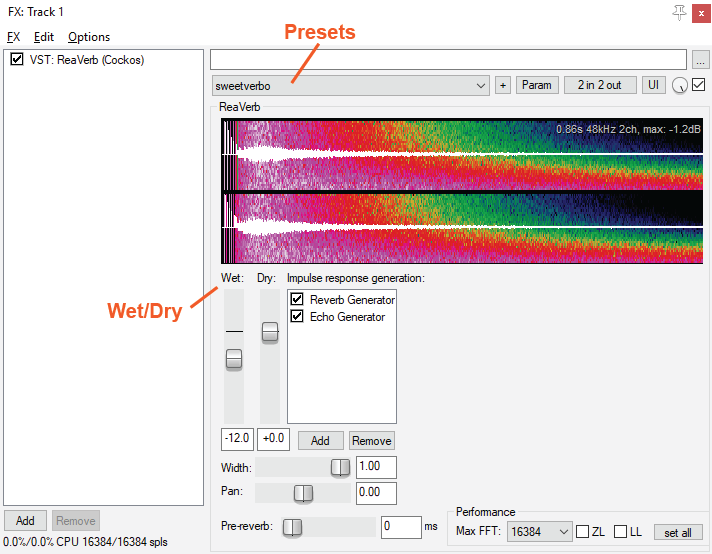
A couple of functions to be aware of with ReaVerb are the Presets and Wet vs. Dry. Selecting "sweetverbo" as a preset is a good starting option. You can then adjust the Wet and Dry parameters. Wet is the how much of the effect is heard, and dry is how much of the original sound is heard.
EQ
Our ears can detect a large range of frequencies—from about 20 Hz to 20 kHz. Each element of your mix/ audio recording has sound in different parts of that range.
EQ (or equalization) in music means changing the balance of these frequencies. The goal is to make everything sound balanced and clear.
EQ is important when recording multiple instruments so that each one has its own defined frequency space and is a good way to avoid audio masking, which is what happens when instruments and voices compete for the same frequencies.
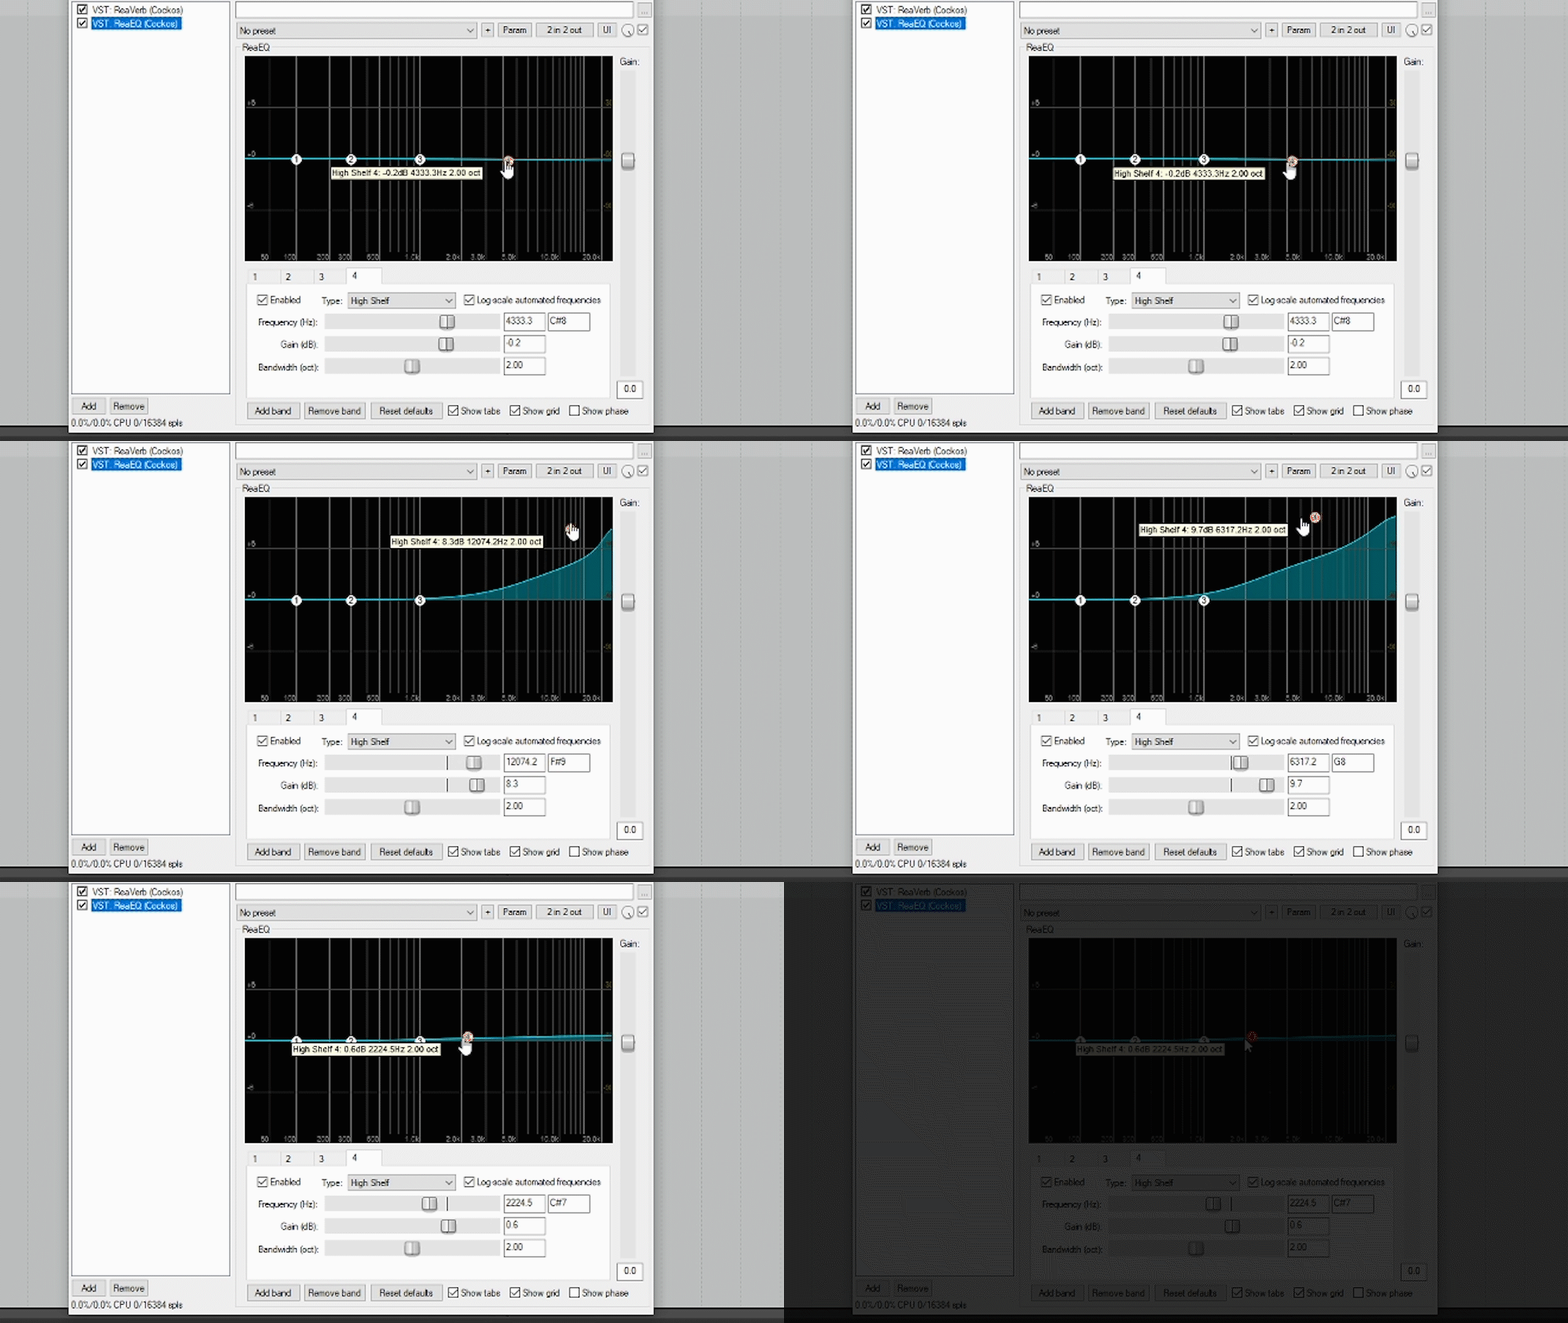
A great EQ effect option is REAPER is called ReaEQ. It is shown below.
Noise Reduction
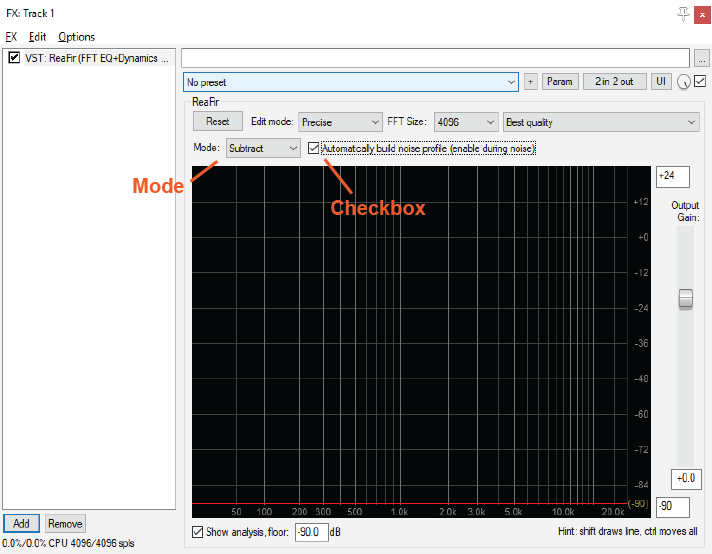
A noise reduction tool removes persistent unwanted noise. These can be caused by noise in your environment or by equipment malfunction, such as loose connection or buzzy mic. In REAPER this tool is called ReaFir. In order for it to work, you need to feed it a sample of audio with only the noise you want removed so that ReaFir can learn which noise is unwanted. Some guides recommend recording 1 minute of "silence," or room tone, before beginning, so that you have this basis for comparison.
To use it:
- Navigate in the Reaper Timeline to find a place where the target noise is isolated. Place the cursor there.
- Add effect called ReaFir
- Set mode to "subtract"
- Check the box "Automatically Build Noise Profile"
- Play clip from cursor. Be sure to stop before other sounds start, as anything other than unwanted noise will mean noise that you want could be removed. If this happens, you can hit undo and start it again.
- Uncheck the Automatically Build Noise Profile box.
- Play back your track, and the undesired noise should be gone.
Delay
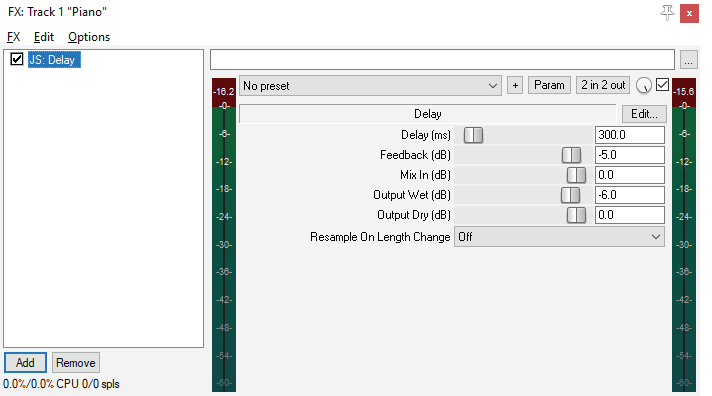
Delay is an effect that basically functions like an echo, repeating the audio at a set interval.
Compression
Audio Compression reduces the difference between the quietest and loudest part of the song or audio file.
Understanding how and when to use compression can be complicated. This video resource explains compression nicely.
Here are some parameters used in audio compressors that you will need to know.
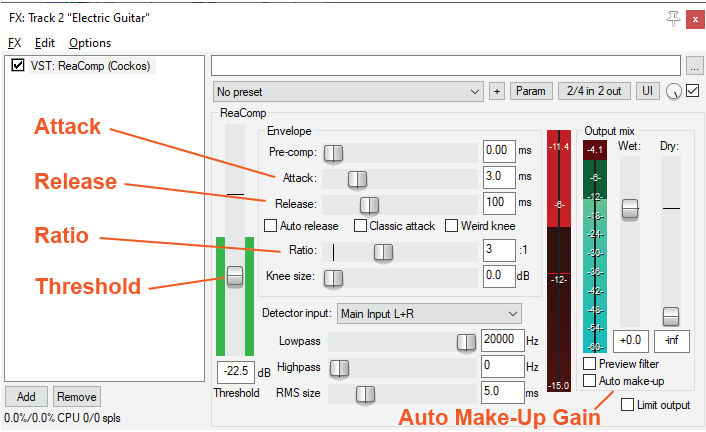
Threshold: Setting the threshold indicates where you want the compression to occur. For instance, If you set the threshold to -20dB, than compression will be applied to everything above -20dB and not applied to everything lower than -20dB. You can set the threshold to whatever point you desire.
Ratio: The Ratio determines how much gain/volume reduction is being applied when the compressor starts working. For example, if the ratio is set to 3:1, for every 3dB the volume goes over the threshold that you set, 1dB will be outputted. As a rule, high ratios make compression more noticeable/aggressive, whereas lower ratios produce more subtle compression. Using your ears, determine which ratio sounds best for your mix.
Attack: This is the reaction time of a compressor. It controls the length of time it takes for a compressor to kick in after the audio signal exceeds the threshold.
Release: This controls how long it takes for a compressor to relax the compression once your audio level has fallen below the threshold.
Auto Makeup Gain: This setting can be used to restore the gain that you reduced from the original signal using gain reduction. This enables you to accurately hear the difference between the original and the compressed sound.
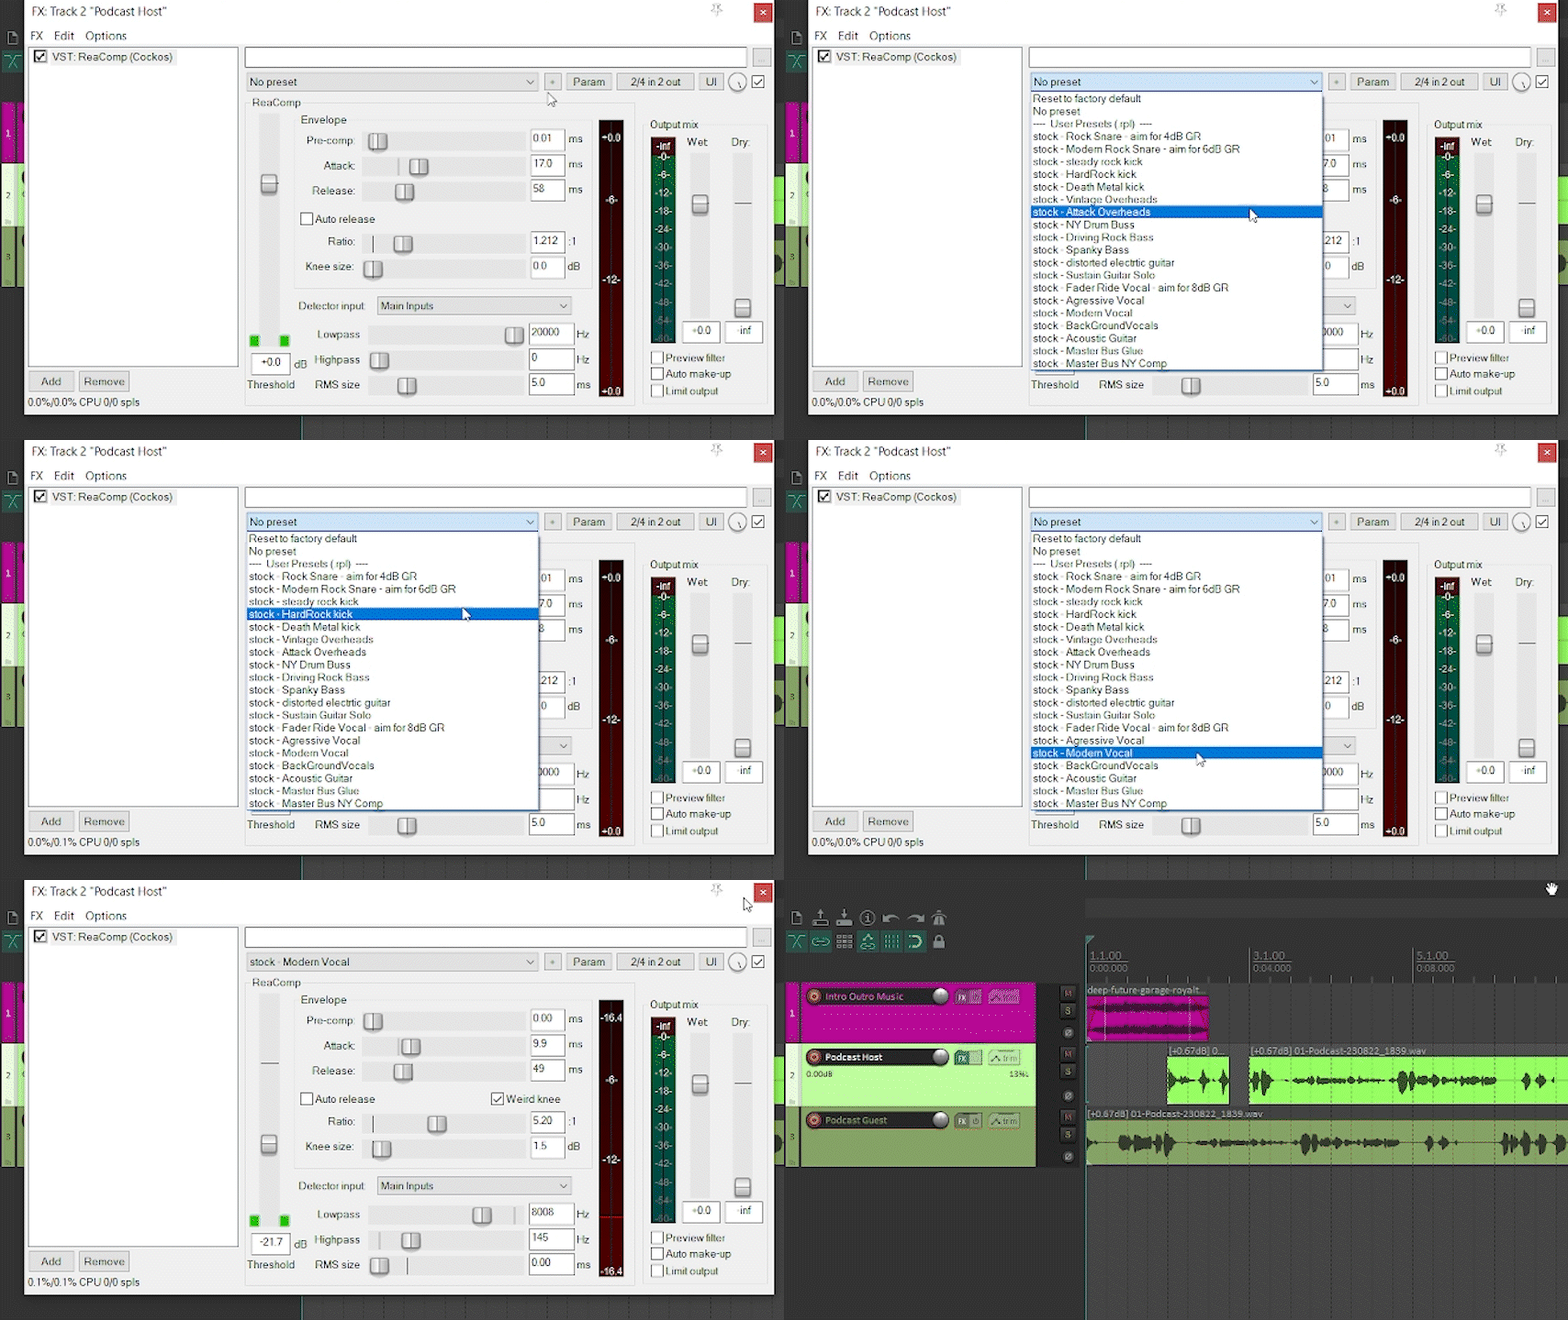
One powerful compressor effect that comes with REAPER is called ReaComp. It has the same functions as described above.
Guitar Amp Simulator
Do you want to get your guitar sounding great either for live or recording/mixing purposes, but don't have an amp/don't want to drive your neighbours crazy? A guitar amp/cabinet simulator might be just right for you. You can plug your guitar into an interface and add live effects or add effects to previously recorded guitar tracks. This video provides more information on the topic.
The main effect in REAPER for this is called JS Convolution Amp/Cab Modeler.
It looks like this:
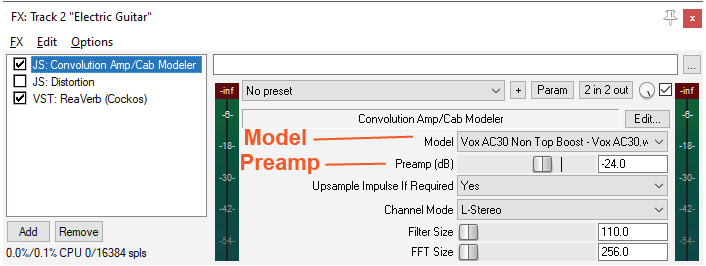
Note: Turn the preamp down, as using this effect causes a pretty big jump in volume, and will cause peaking.
Other helpful effects for guitar are JS Distortion and ReaVerb.
Guitar Tuner
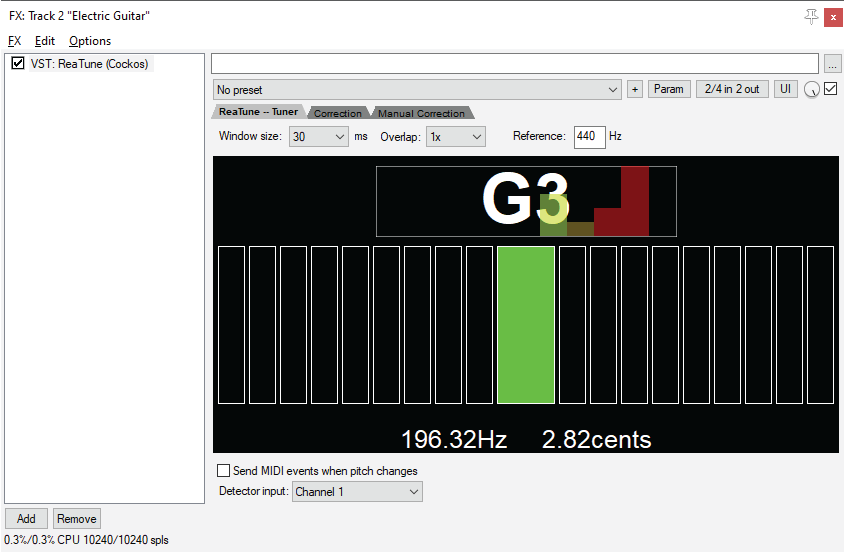
Tune up before your recording session! Using the audio effect ReaTune in REAPER, you can check your instrument's tuning. You can also tell what key a prerecorded audio file is in. Just add the ReaTune effect to that track and voila!
