Mixer and Audio Effects in FL Studio
Basic Mixing in FL Studio
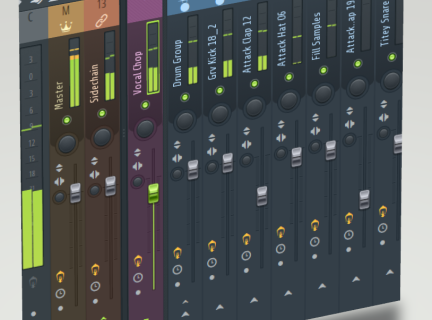
1. Open Mixer (F9)
Click on the Mixer tab button and the mixer will open.
2. Assign Instrument / Sample to Target Mixer Track
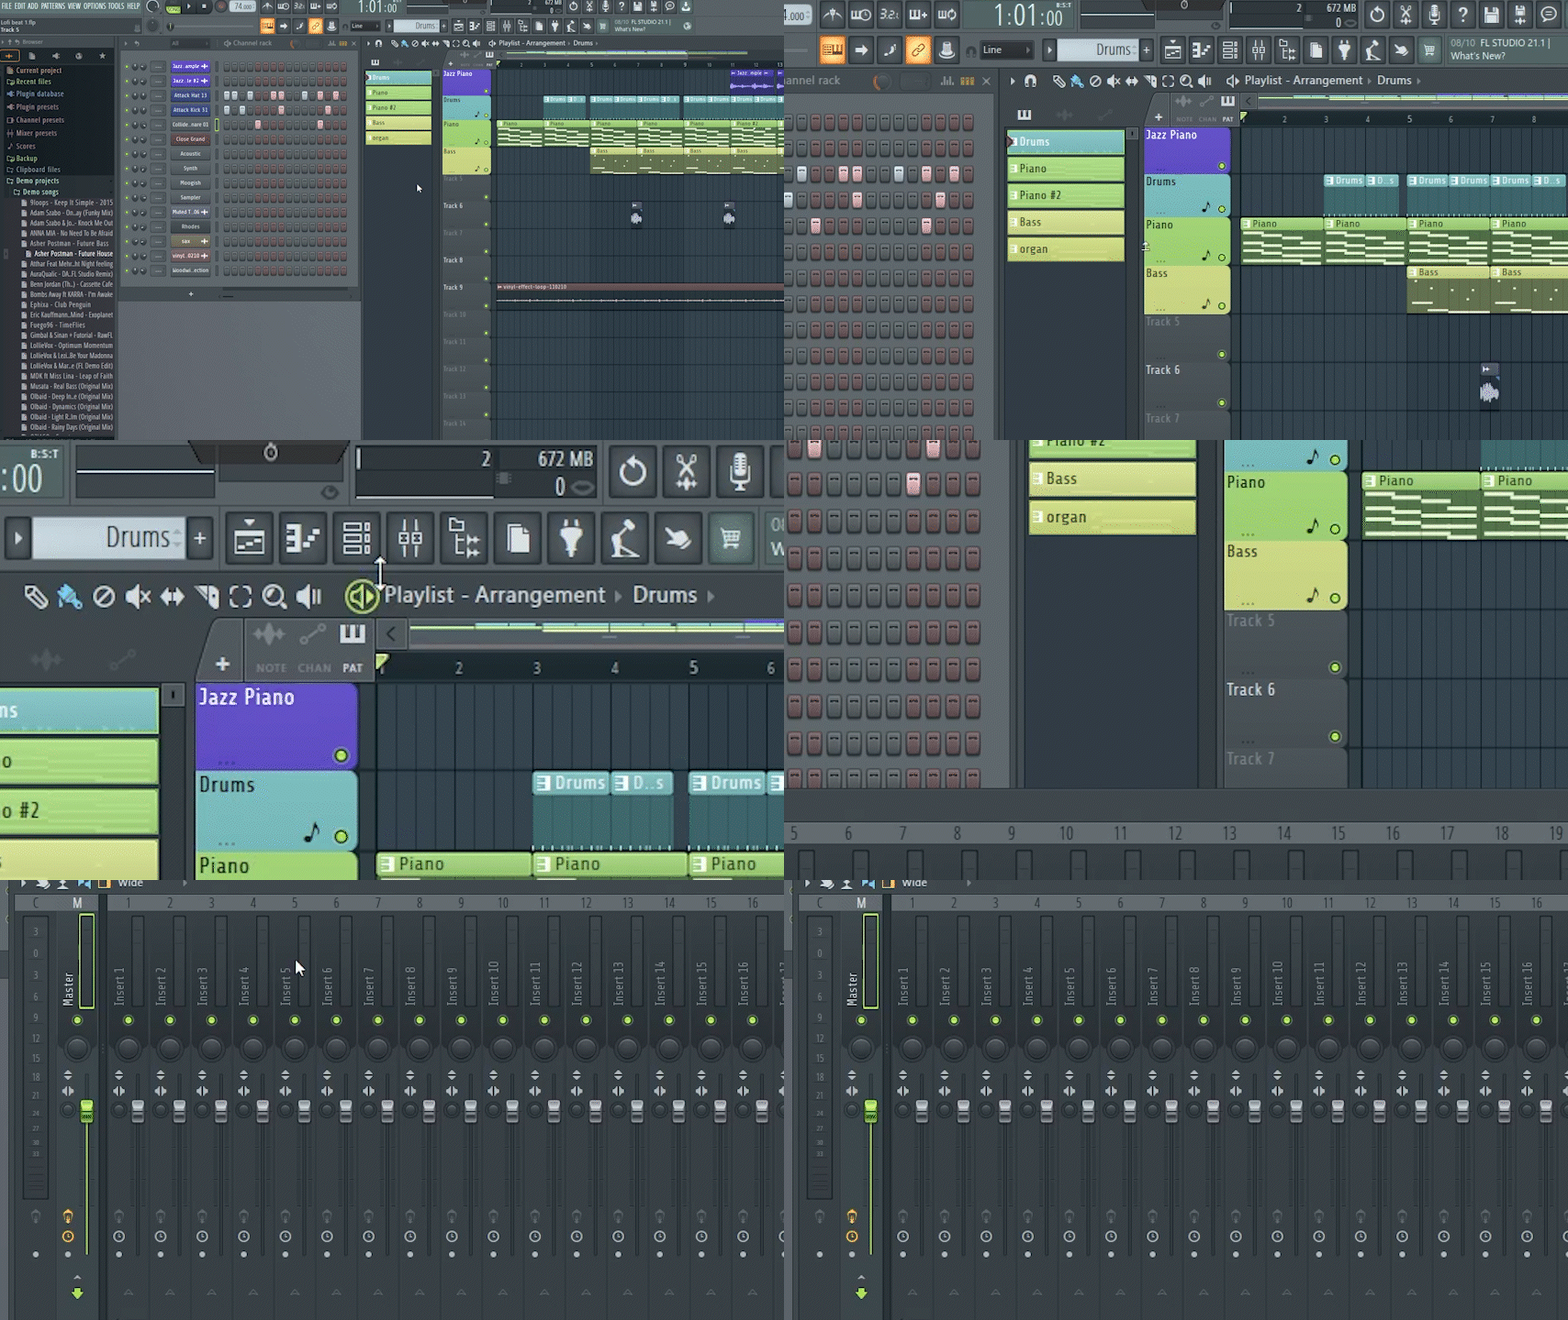
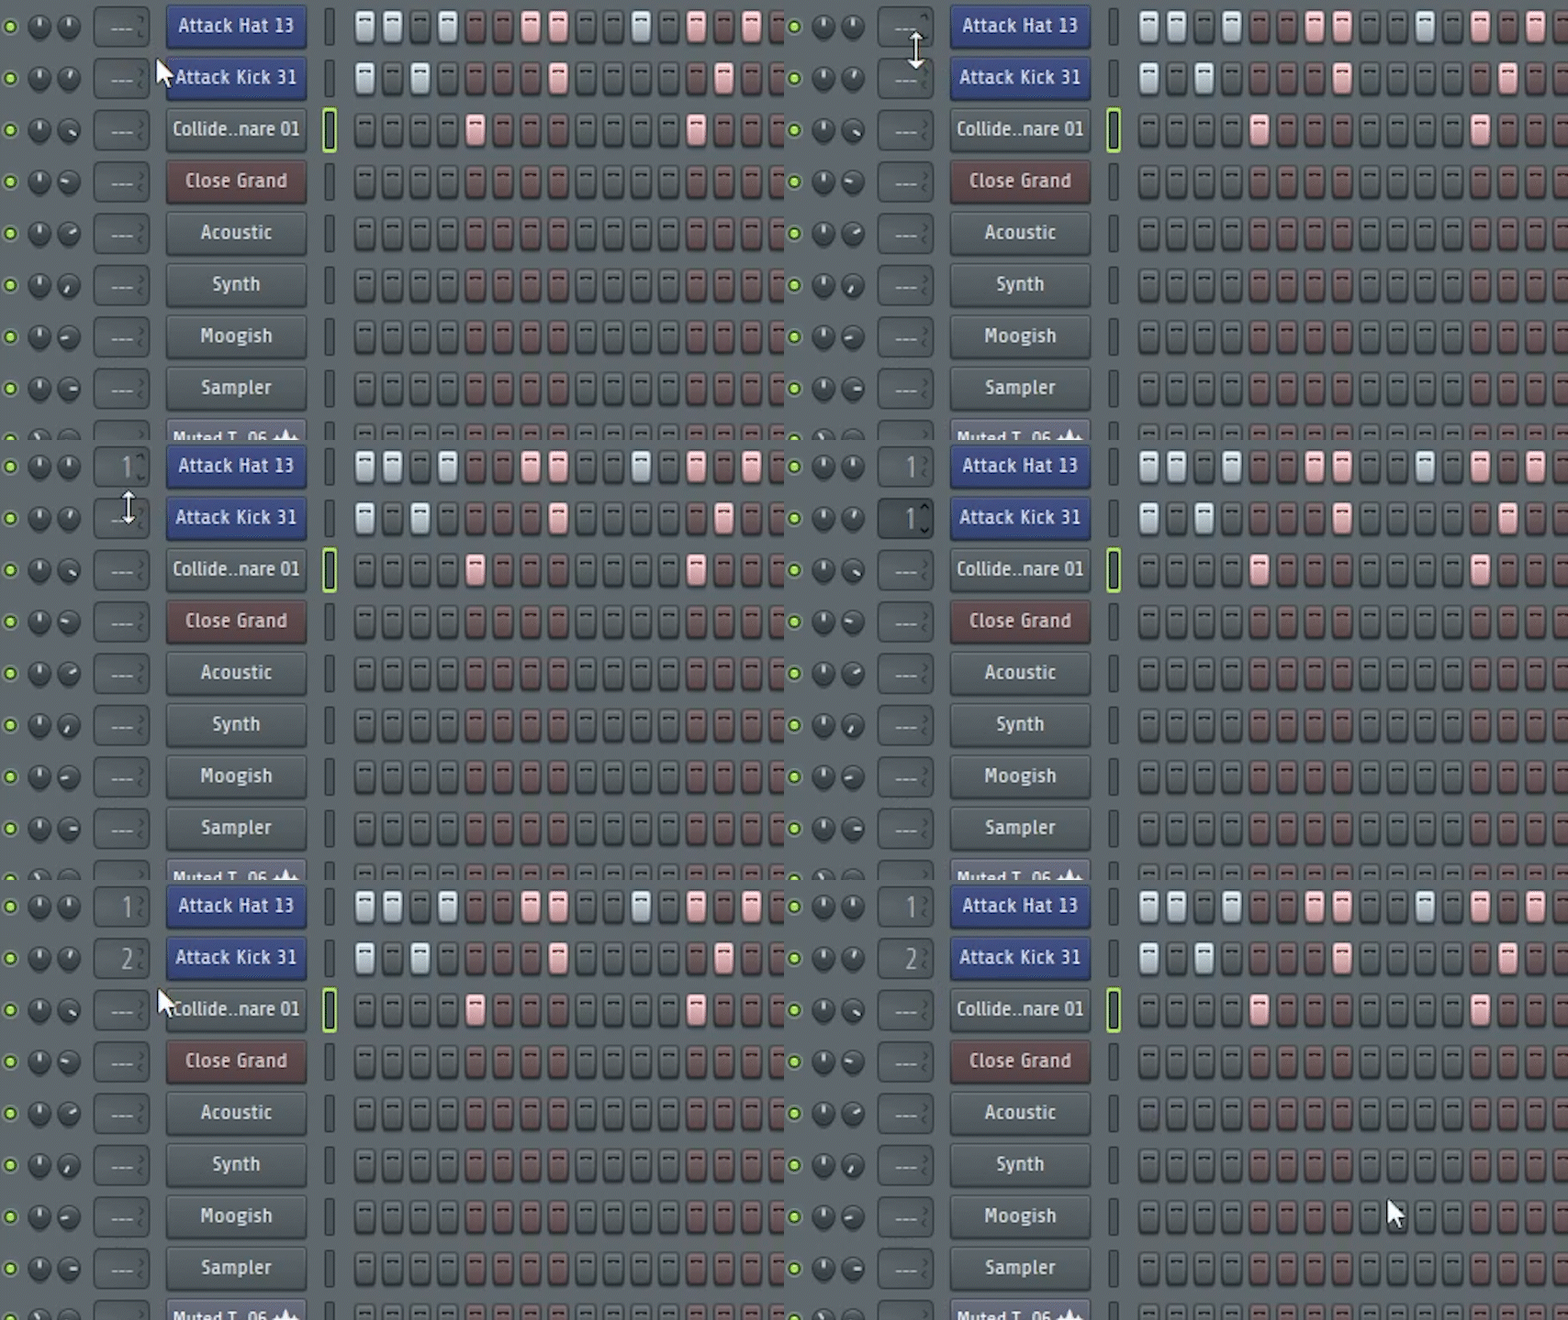
Using the Channel Rack, assign a mixer track for each sample/instrument you want to add effects to. You can assign multiple instruments or samples to the same mixer track.
3. OPTIONAL - Rename / Color (F2)
To keep organized, you may choose to rename or color mixer tracks.
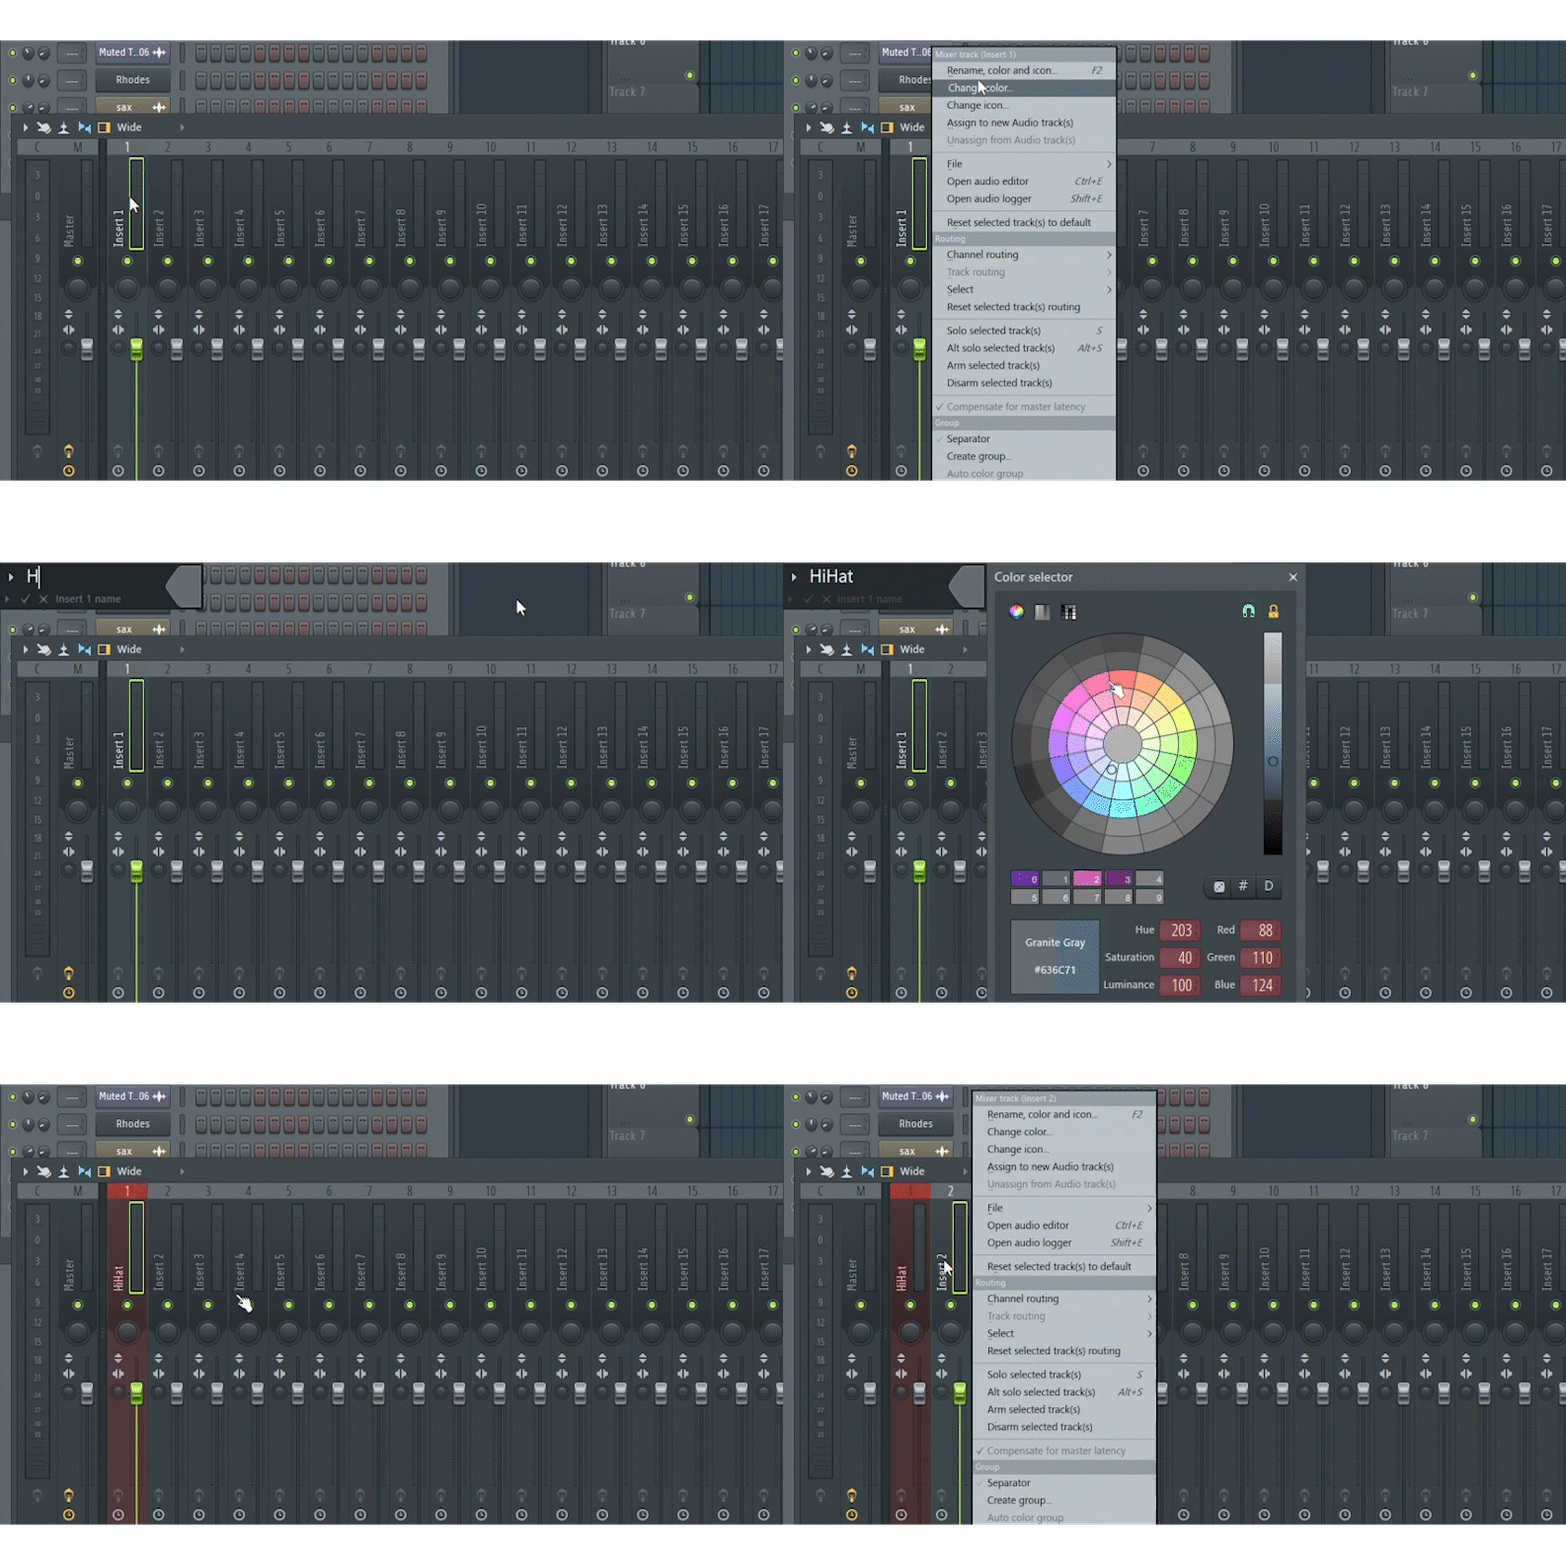
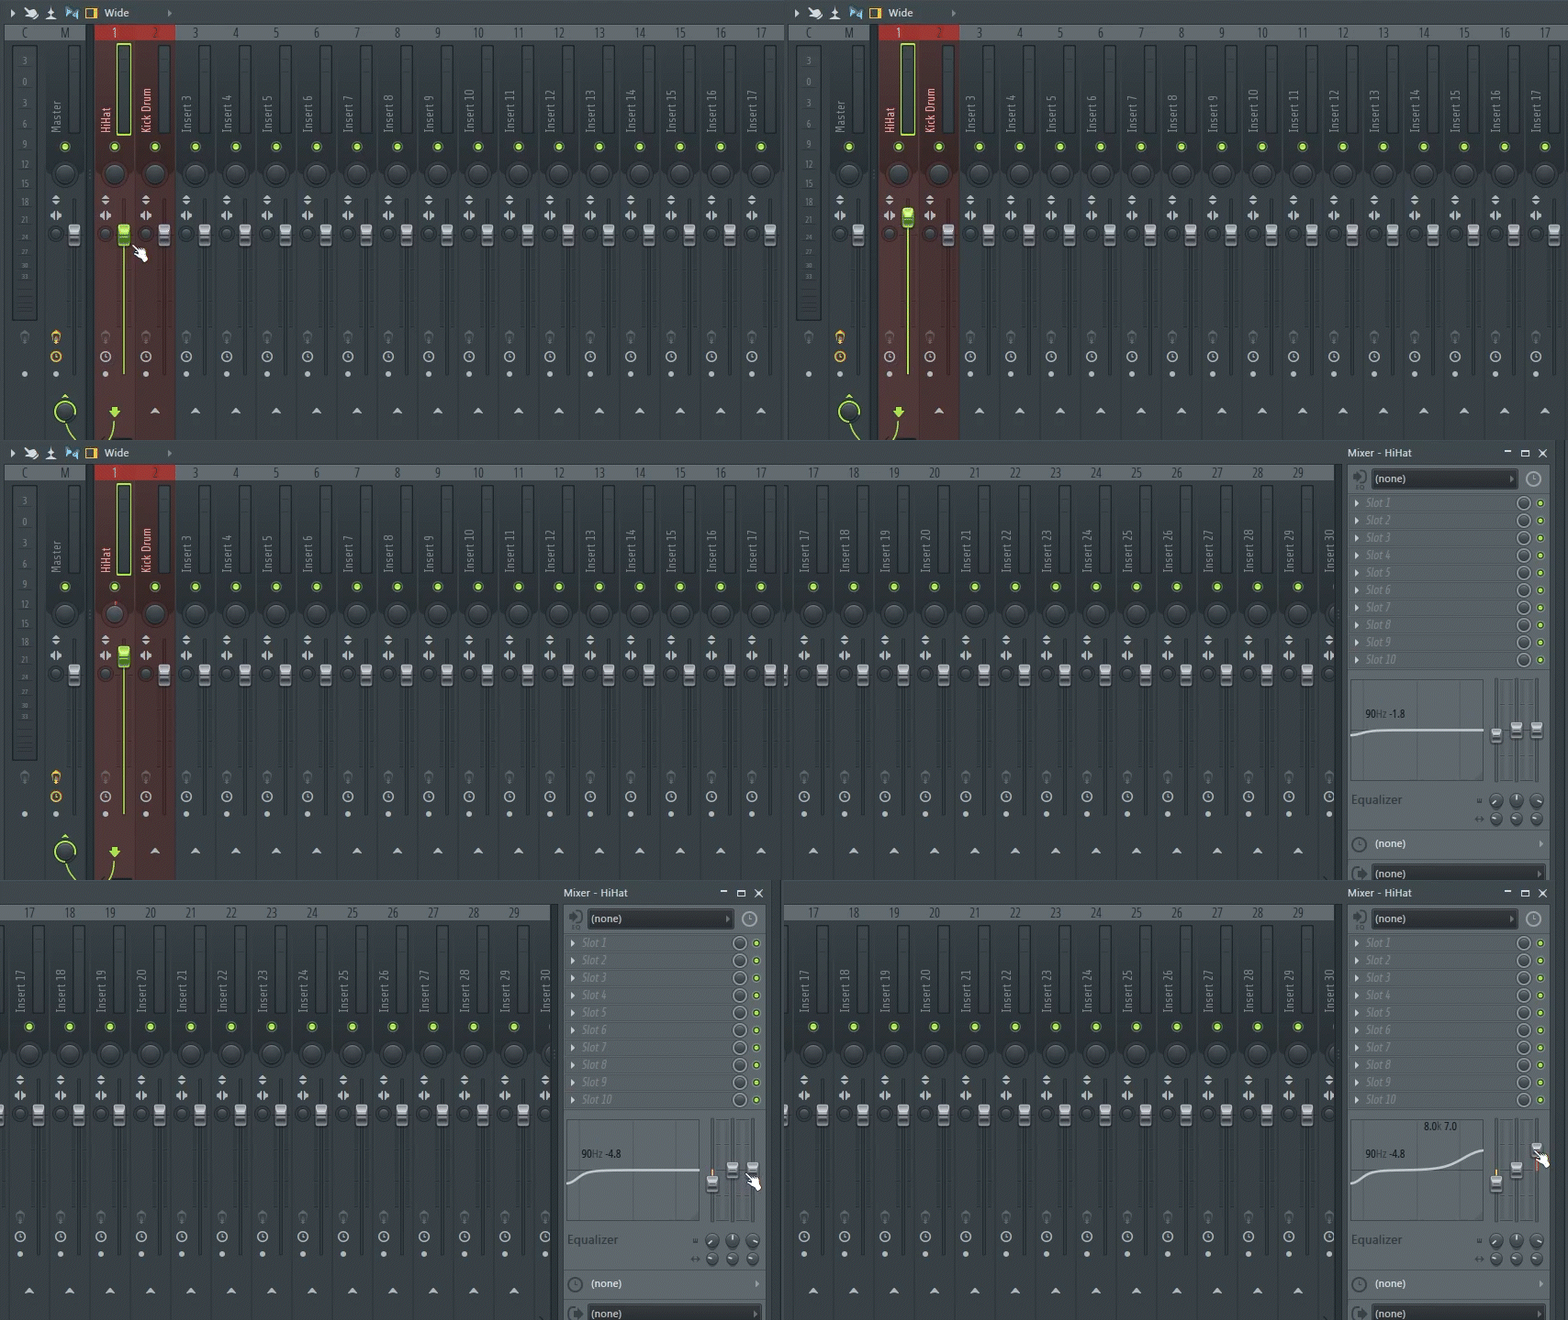
4. Adjust Volume, Pan and EQ
You can use the mixer's built-in controls for Volume, Pan, and EQ for each mixer track.
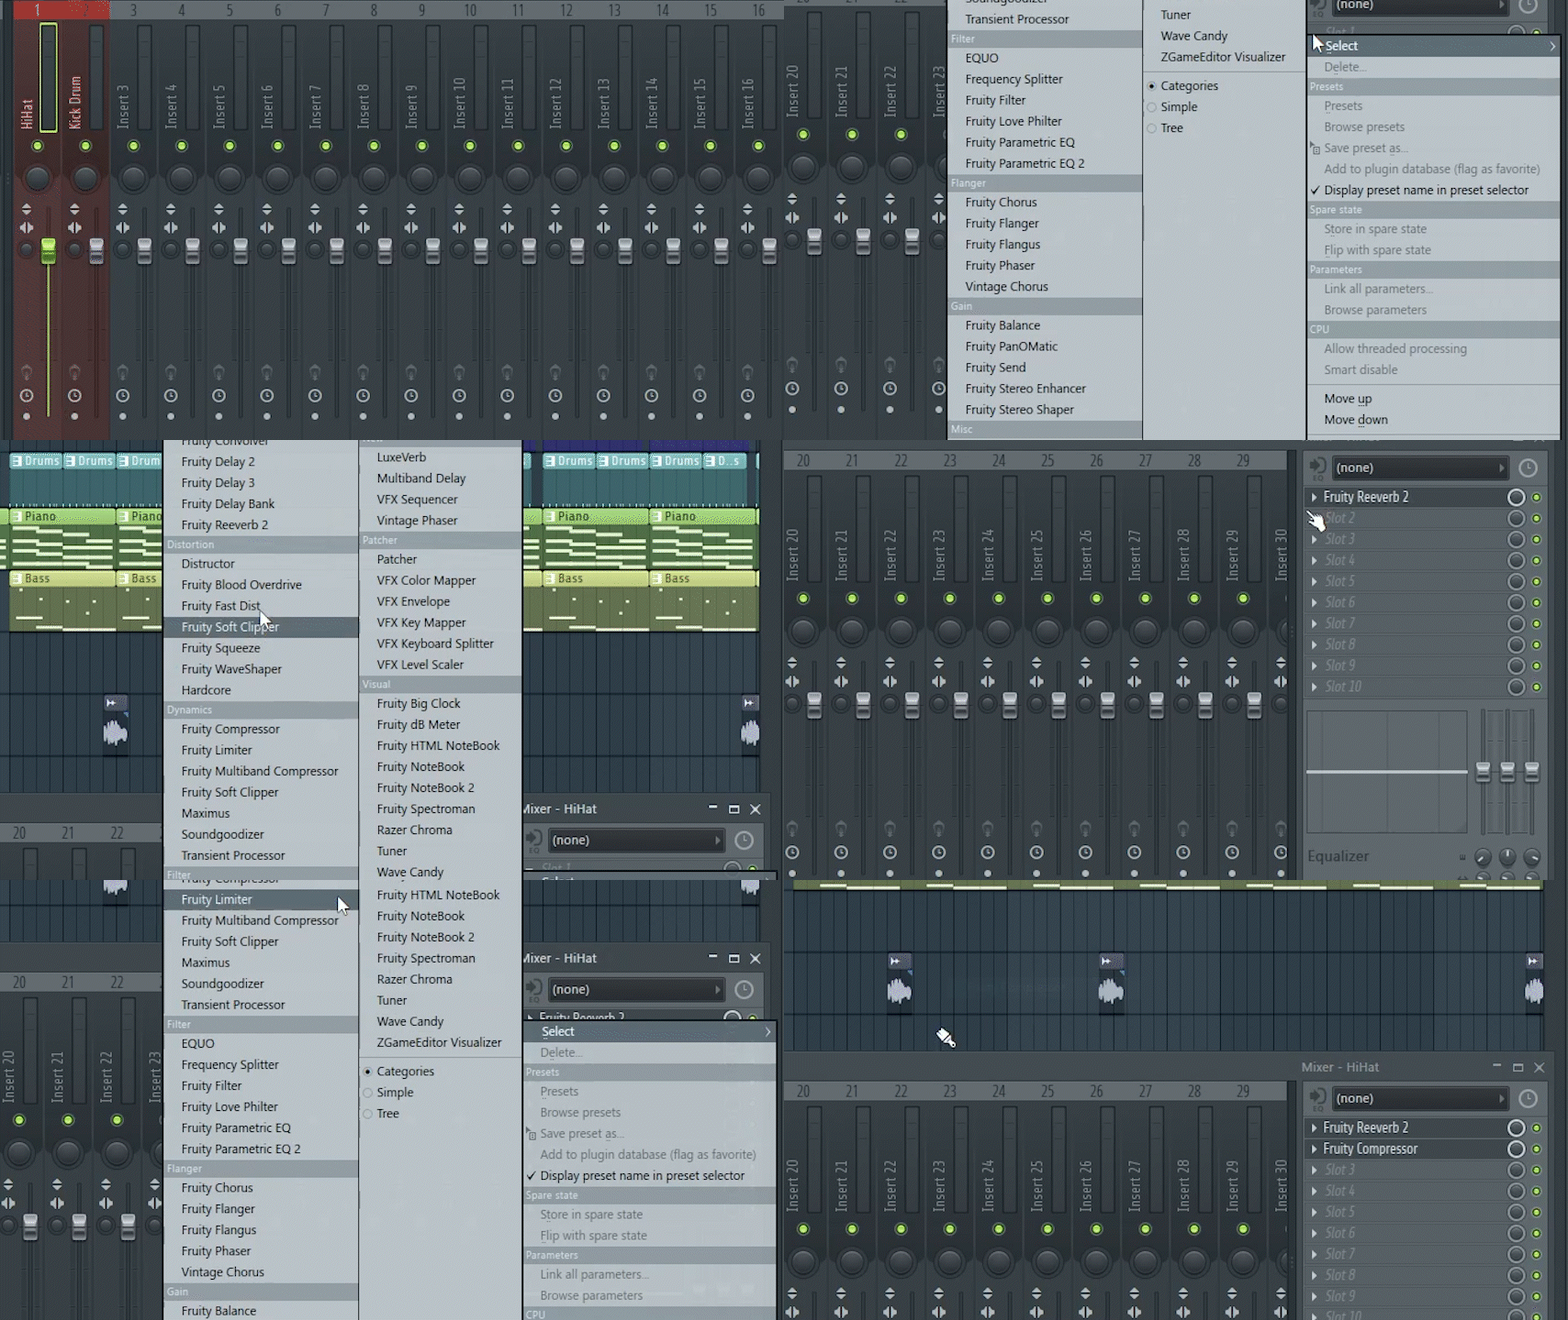
5. Add Effect(s) to selected Mixer Track
FL Studio comes with an amazing amount of high quality effects to choose from. Add an effect to an empty slot. You can have up to 10 effects on one mixer track.
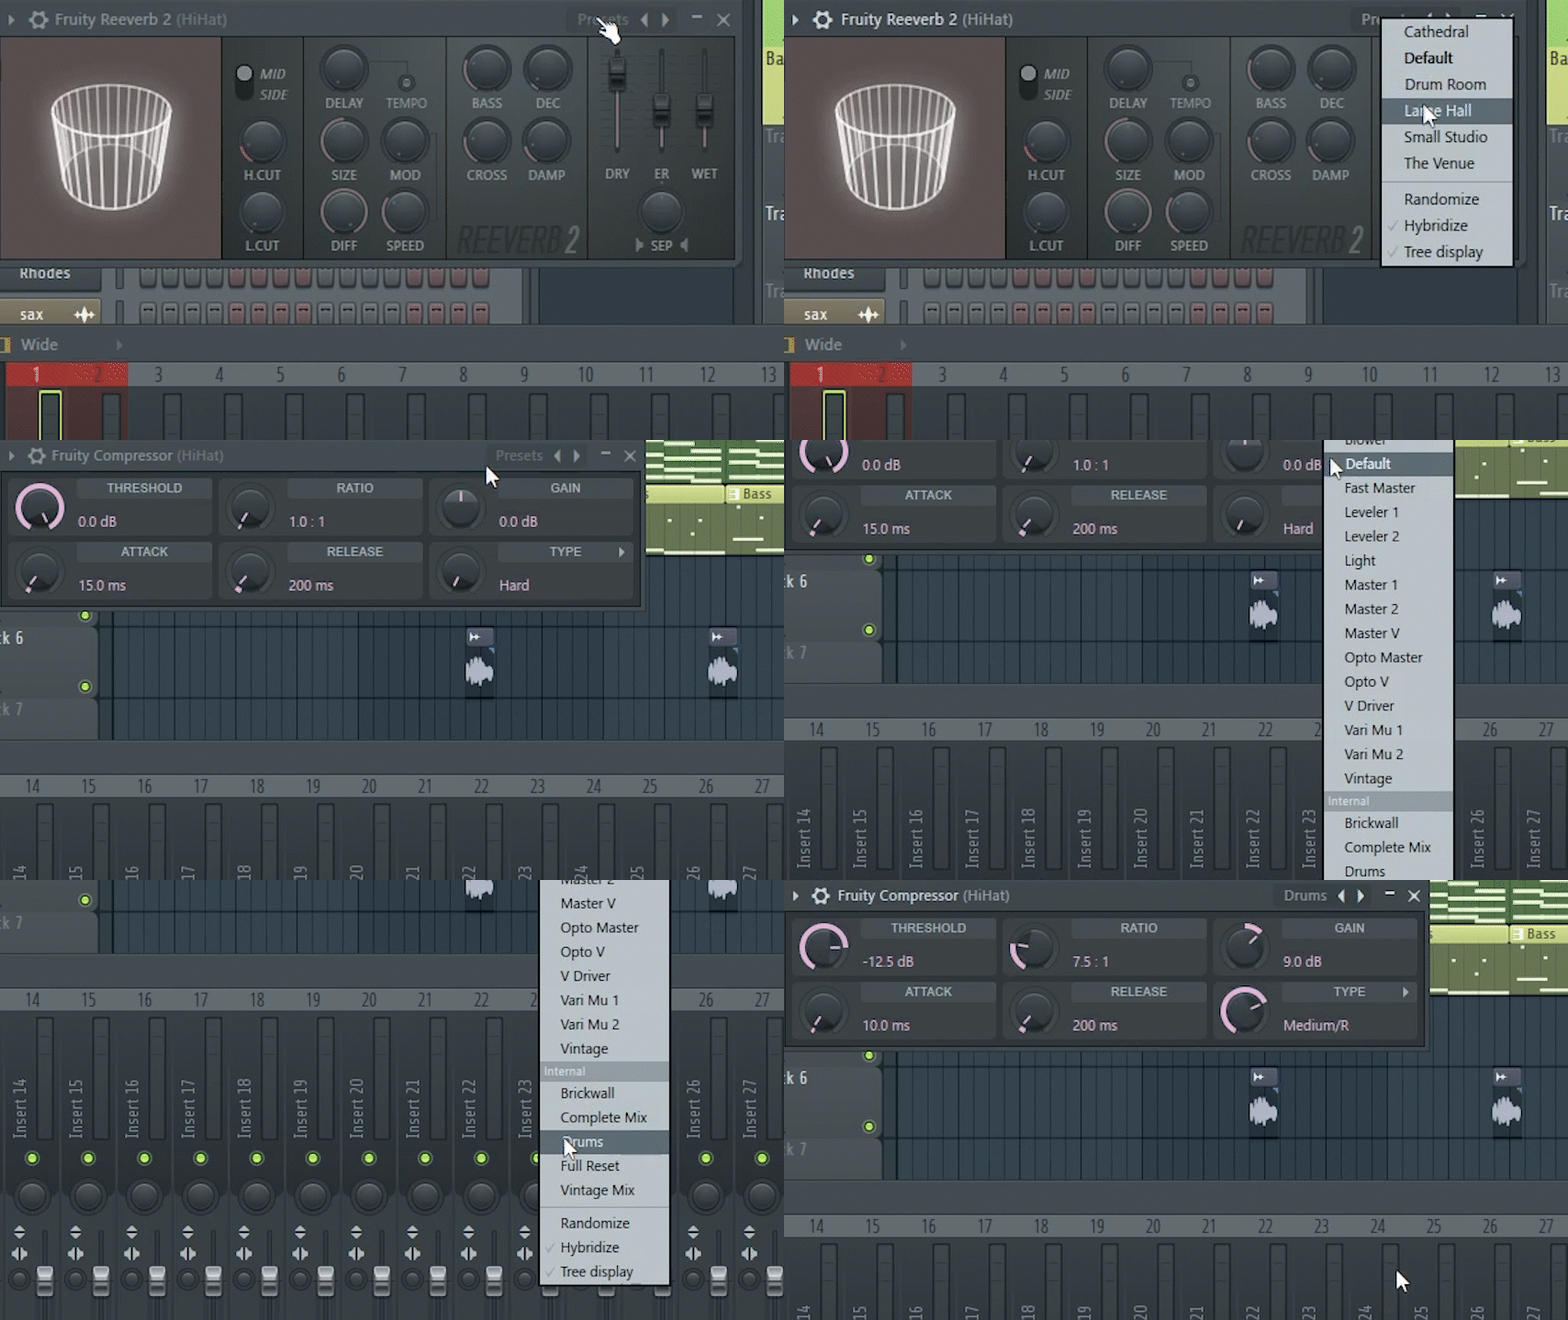
6. Change Effect Presets
Audio Effects typically come with some professionally-created presets which sound good right out of the box. You can select one of these and work with it or tweak the settings further.
7. Adjust Effect Parameters
You can adjust any parameters as desired to make the audio effect work to your liking. See different effects below for more information..
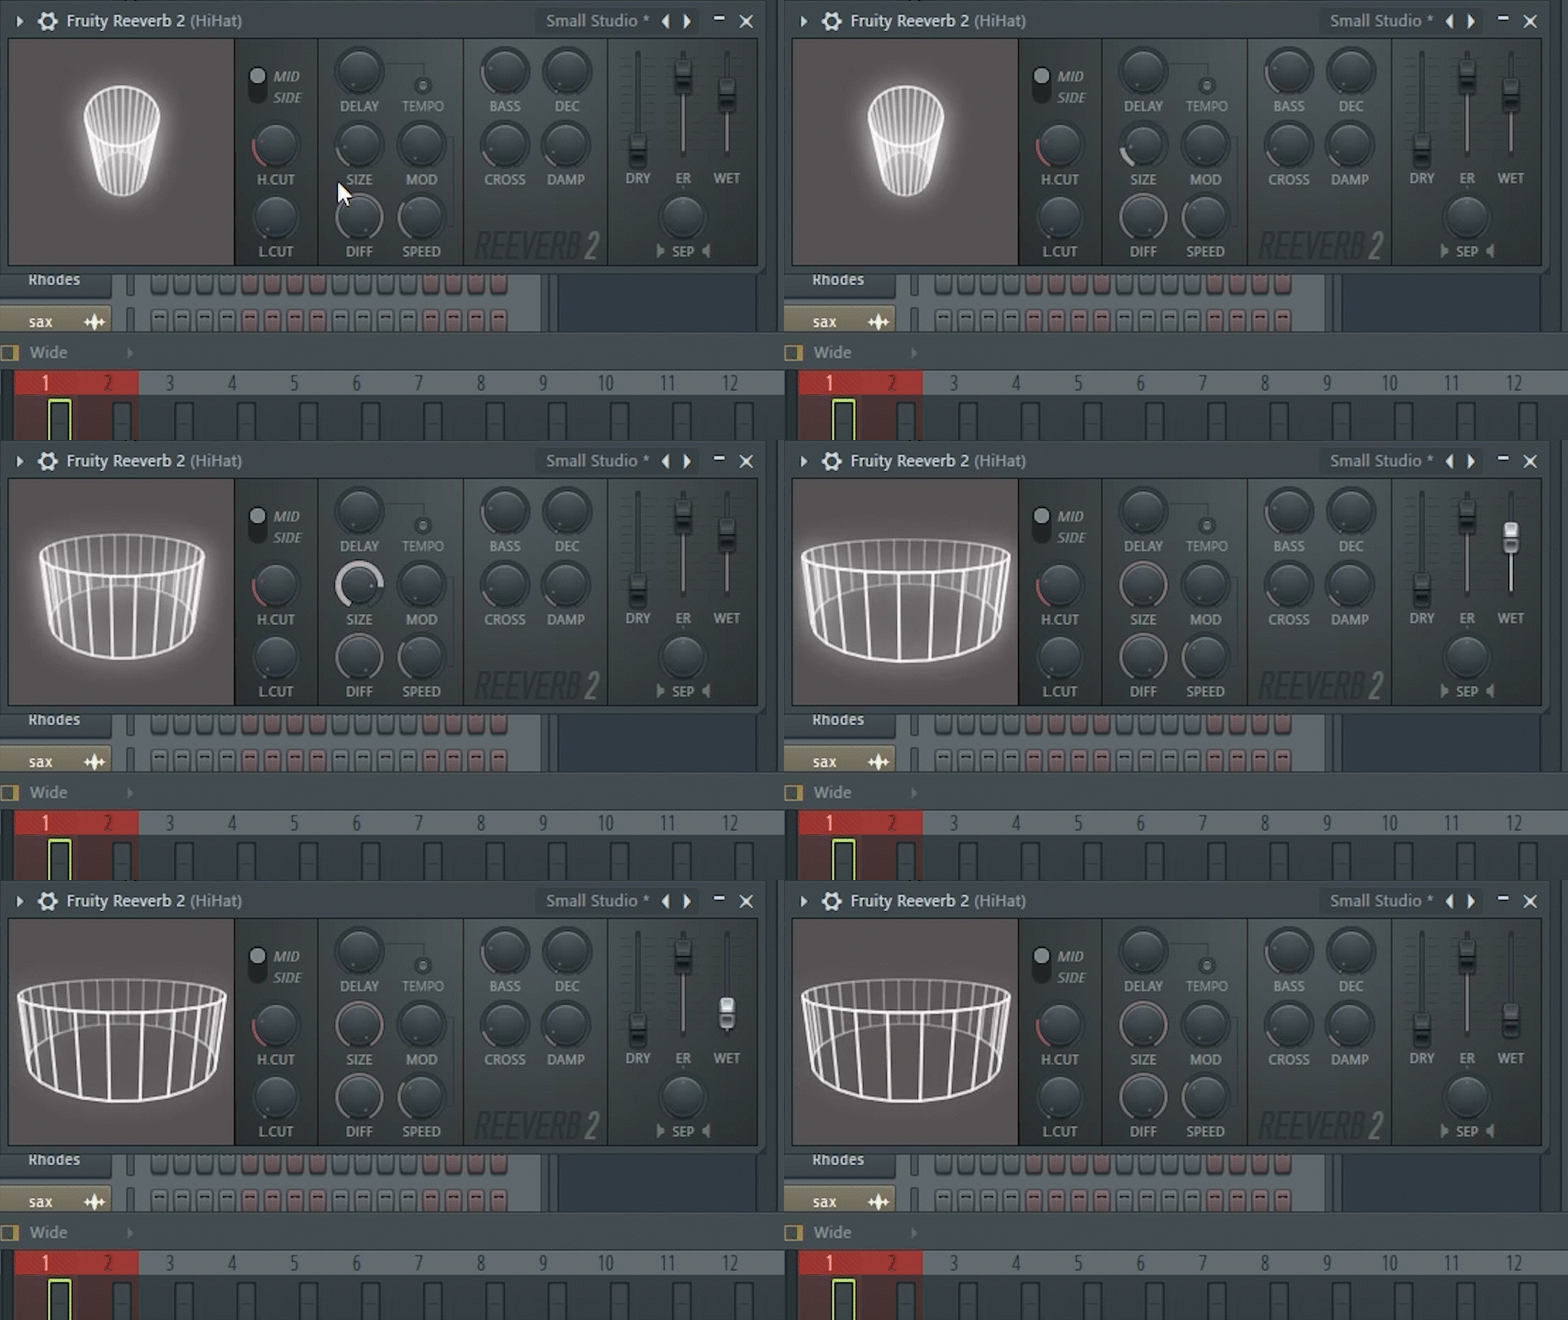
The following is some information about some common effects in FL Studio:
Reverb
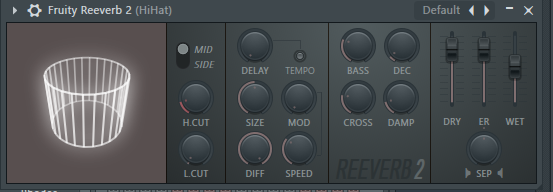
Reverb is an audio effect that can be described as the sound of the space. If you have ever yelled or clap your hands in a large room, you have heard reverb. Most recordings are made in a studio, where there is little to no reverb. But you can add it to a recording using the reverb effect make a vocal or instrument sound more full.
The main reverb effect in FL Studio is Fruity Reeverb 2
Tip:
Wet is how much effect is applied. Dry is how much of the original sound is heard.
EQ
Our ears can detect a large range of frequencies—from about 20 Hz to 20 kHz. Each element of your mix/ audio recording has sound in different parts of that range.
EQ (or equalization) in music means changing the balance of these frequencies. The goal is to make everything sound balanced and clear.
EQ is important when recording multiple instruments so that each one has its own defined frequency space and is a good way to avoid audio masking, which is what happens when instruments and voices compete for the same frequencies.
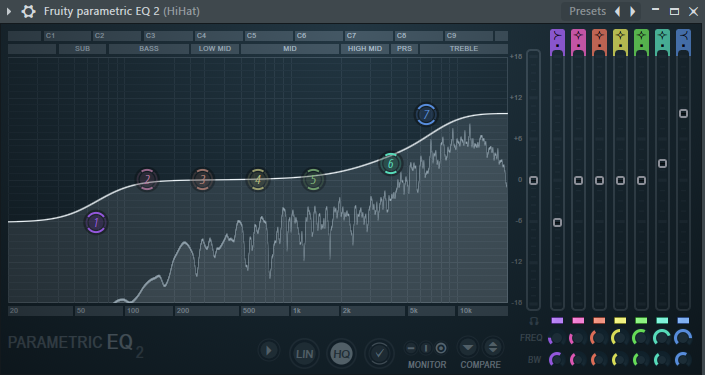
A great EQ effect option in FL Studio is called Fruity Parametric EQ 2.
Delay
Delay is an effect that basically functions like an echo, repeating the audio at a set interval. A common Delay effect in FL Studio is Fruity Delay 3.

Compression
Audio Compression reduces the difference between the quietest and loudest part of the song or audio file.
Understanding how and when to use compression can be complicated. The video resource above explains compression nicely.
Here are some parameters used in audio compressors that you will need to know.
Threshold: Setting the threshold indicates where you want the compression to occur. For instance, If you set the threshold to -20dB, than compression will be applied to everything above -20dB and not applied to everything lower than -20dB. You can set the threshold to whatever point you desire.
Ratio: The Ratio determines how much gain/volume reduction is being applied when the compressor starts working. For example, if the ratio is set to 3:1, for every 3dB the volume goes over the threshold that you set, 1dB will be outputted. As a rule, high ratios make compression more noticeable/aggressive, whereas lower ratios produce more subtle compression. Using your ears, determine which ratio sounds best for your mix.
Attack: This is the reaction time of a compressor. It controls the length of time it takes for a compressor to kick in after the audio signal exceeds the threshold.
Release: This controls how long it takes for a compressor to relax the compression once your audio level has fallen below the threshold.
Auto Makeup Gain: This setting can be used to restore the gain that you reduced from the original signal using gain reduction. This enables you to accurately hear the difference between the original and the compressed sound.
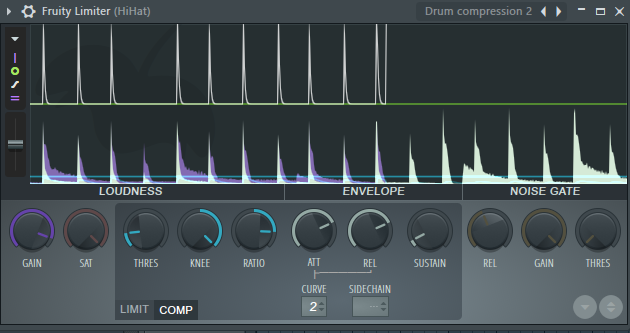
One powerful compressor effect that comes with FL Studio is called the Fruity Limiter.
